 Paragraph spacing in Microsoft Word
Create professional-looking business correspondence with a few clicks to set spacing before and above paragraphs.
Technical writers can use a variety of tools to address different writing scenarios. But for "everyday" writing tasks, such as a transmittal letter for a print project, using a desktop word processor gets the job done very quickly.
But as a technical writer, I just can't bring myself to write a plain "unstyled" document in a word processor. If I'm going to write a cover letter, I'm going to make it look like a cover letter.
An exercise in paragraph spacing
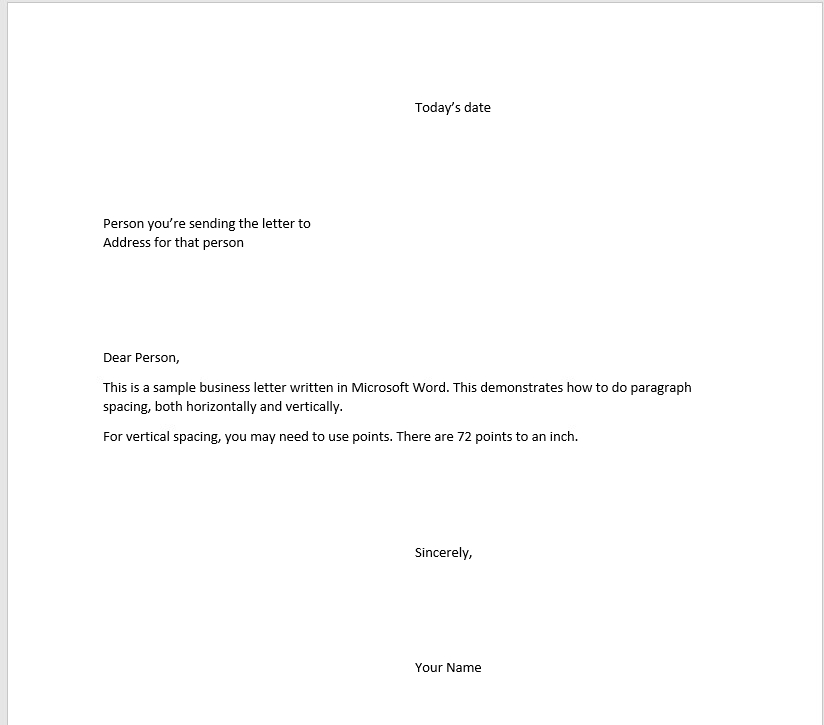
A cover letter is an exercise in using paragraph spacing. For example, in most cover letters, you start with the date of the letter, which should start half-way into the page. For readability, you should add extra space between the date and the recipient. Similarly, you should provide extra space between the recipient and the body of the letter. If your letter includes a signature, you should also leave room for that at the end.
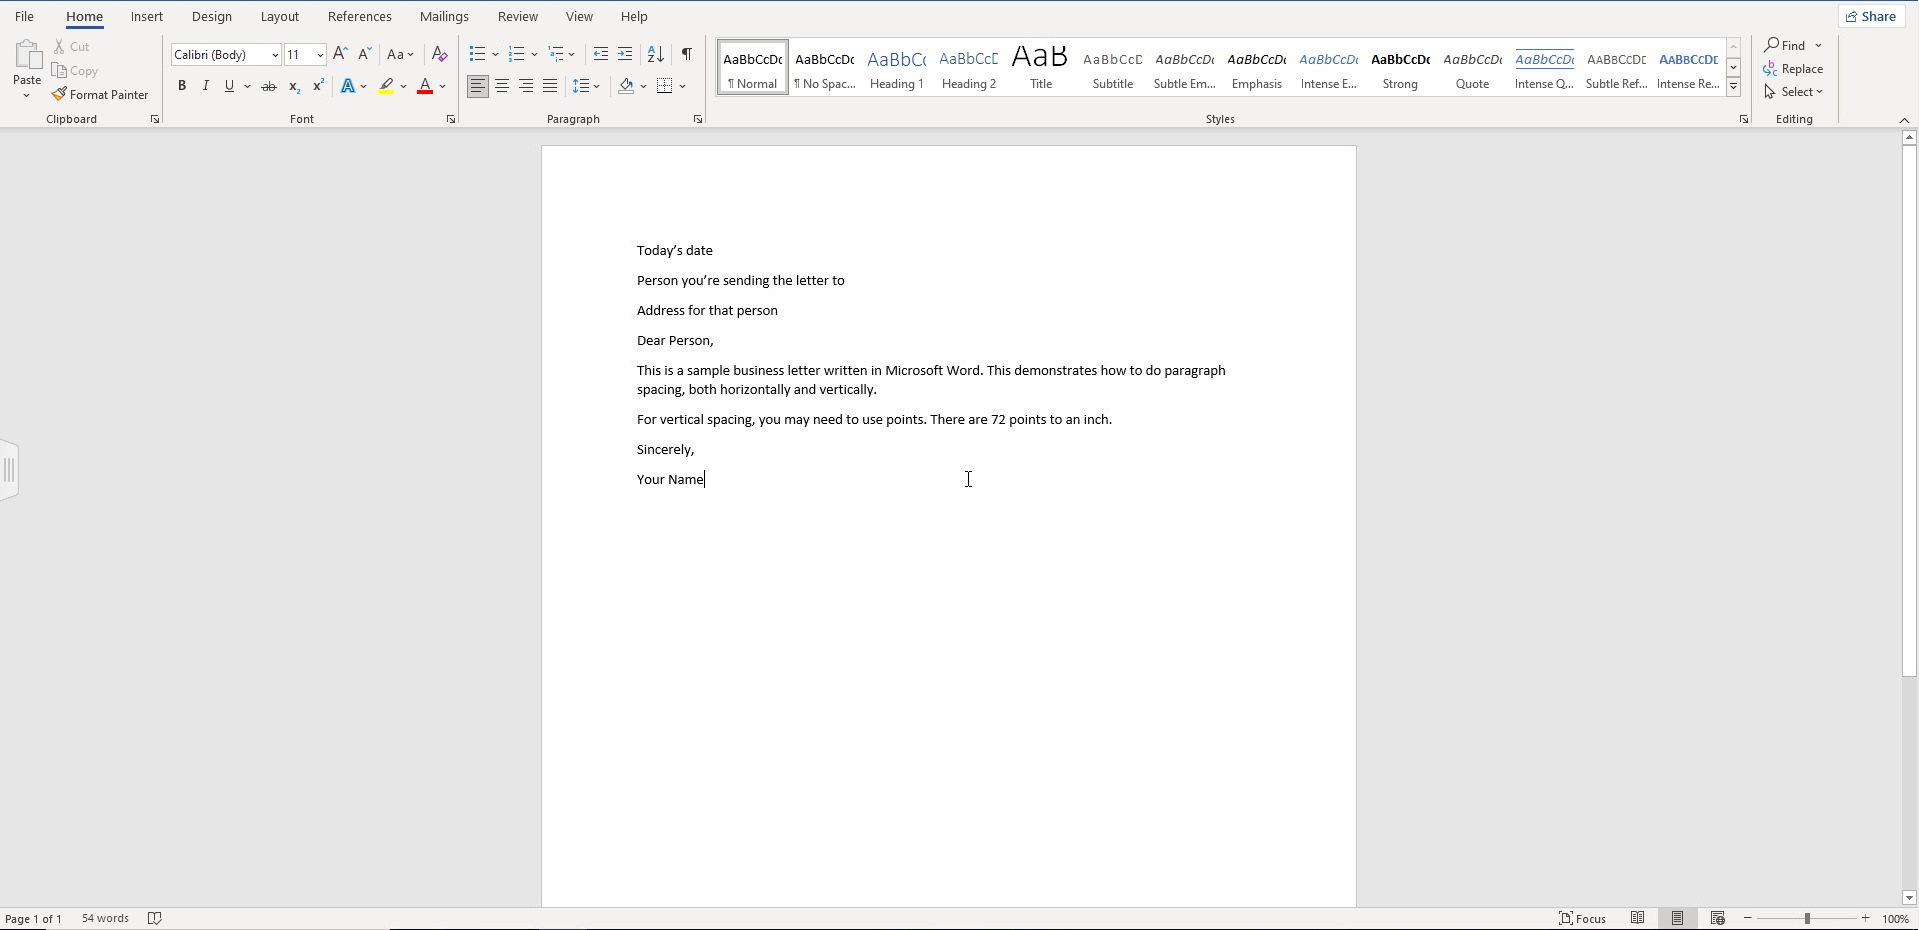
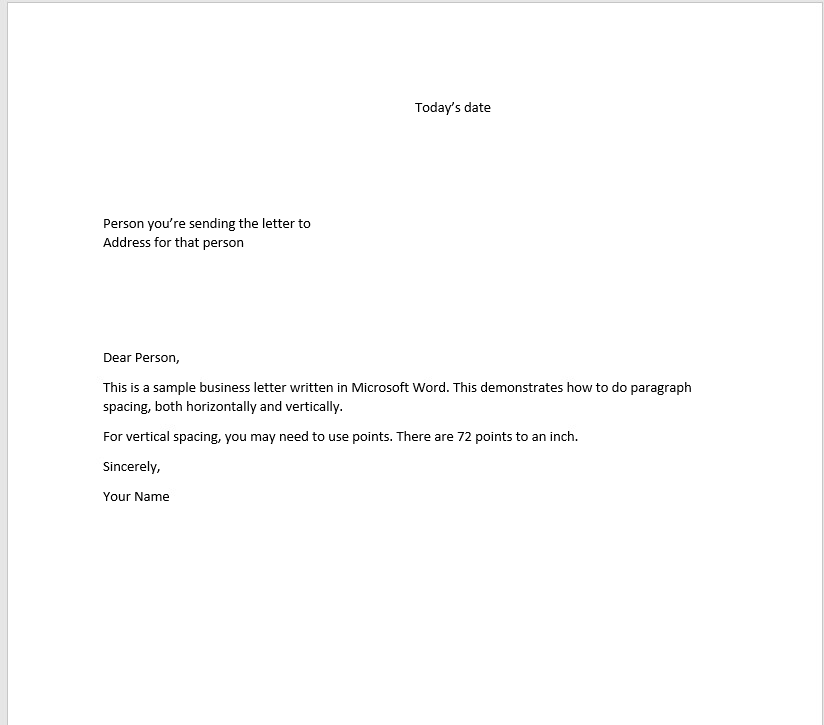
Let's start with a sample cover letter, written in Microsoft Word. To create this draft, I just typed the letter using the default "Normal" paragraph style, which uses Calibri at 11 point, and a little bit of space between paragraphs.
Indent the date
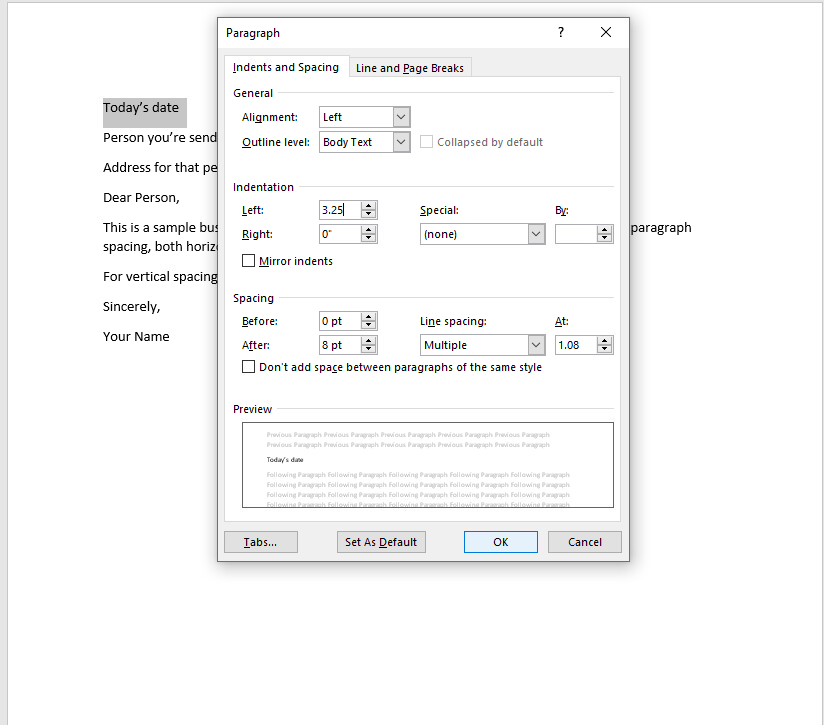
The date should start about half-way into the paragraph area. This should not be centered, but instead should use paragraph indentation to start the text at the midpoint of the text body.
For this, we need to do a little math: US Letter paper is eight and a half inches wide (and eleven inches tall, but we only need the width). The default page style in Microsoft Word leaves an inch for the top, bottom, left, and right margins. That leaves 6.5 inches for the paragraph area. Half of that is 3.25 inches, which is the midpoint of the text body.
Right-click on the date, and edit the paragraph options. Set the indentation to 3.25" on the left.
Add spacing before the recipient name
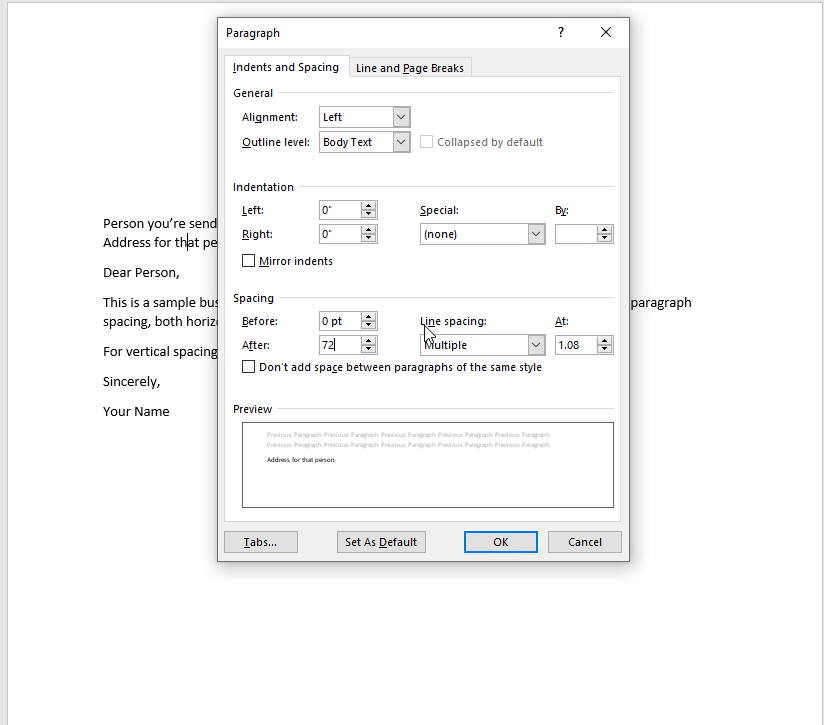
For formal communication, you should include the recipient's name and address in the letter, with extra space above and below the name. I like to use an inch of space.
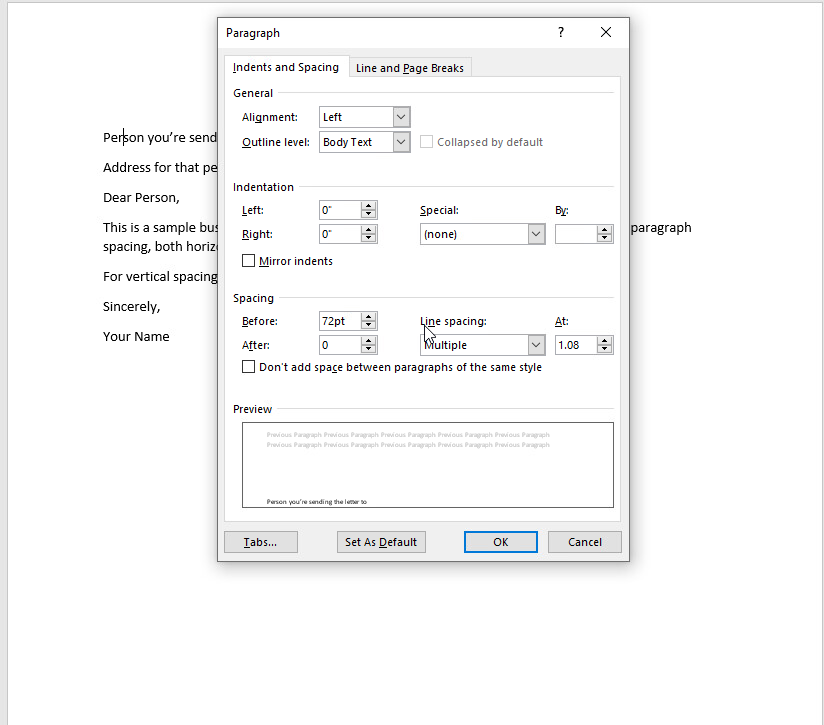
Microsoft Word uses inches for horizontal measurements, but uses points for vertical measurements. This requires knowing the conversion between inches and points: there are 72 points per inch.
To add an inch of space above the recipient's name, right click on the name and edit the paragraph options. Set the spacing before the paragraph to 72pt. In this example, I also want to remove the extra space between the recipient's name and address, so I also set the space after the recipient's name to 0pt.
The result is an inch of space between the date and the recipient. And note that the recipient's name and address don't have any extra space between them:
Add spacing after the address
If your letter includes the recipient's name and address, it's a good idea to provide extra space below the address and before the letter body. You can do that in one of two ways:
- Add space above the first line of the letter
- Add space after the address line
In this example, I decided to use the second option: add space after the address line. Right-click on the address line and edit the paragraph options. You can add an inch of extra space below the address by setting the "after" spacing to 72pt.
Now the letter is easier for the recipient to read. The date is indented, and the recipient has space above and below their name and address:
Add spacing in the signature block
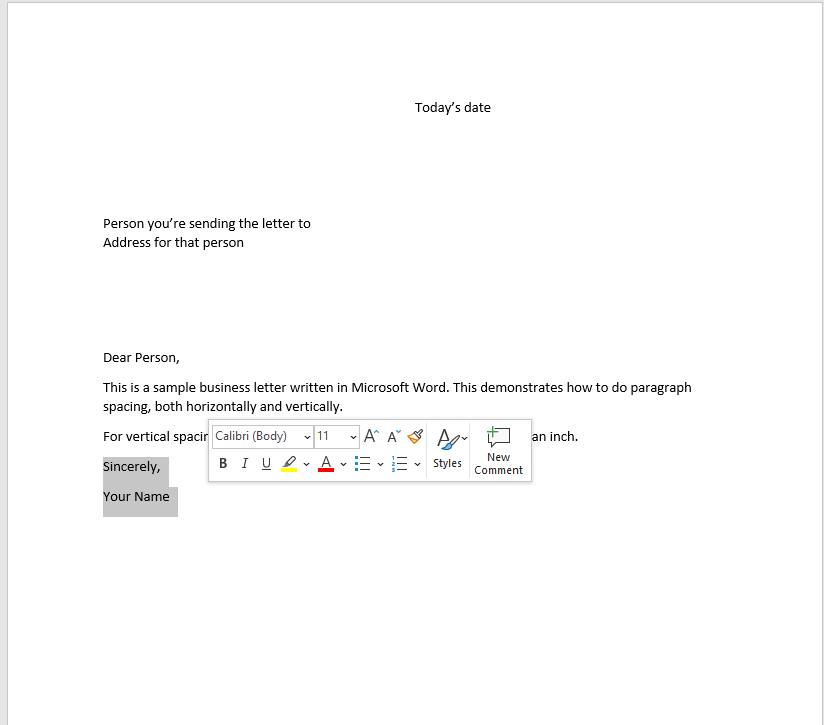
In my sample business letter, the signature block is two lines:
- "Sincerely"
- The name of the person who sent the letter
For most business correspondence, you should include extra space between the body of the letter and the "Sincerely" line. And if you will add a written signature in the printed letter, you should leave room to sign the letter.
This means both the "Sincerely" line and the name need to have an inch of space above each line. Again, we can accomplish this with paragraph spacing.
To change the spacing on two lines at once, highlight both lines and right-click to edit the paragraph options.
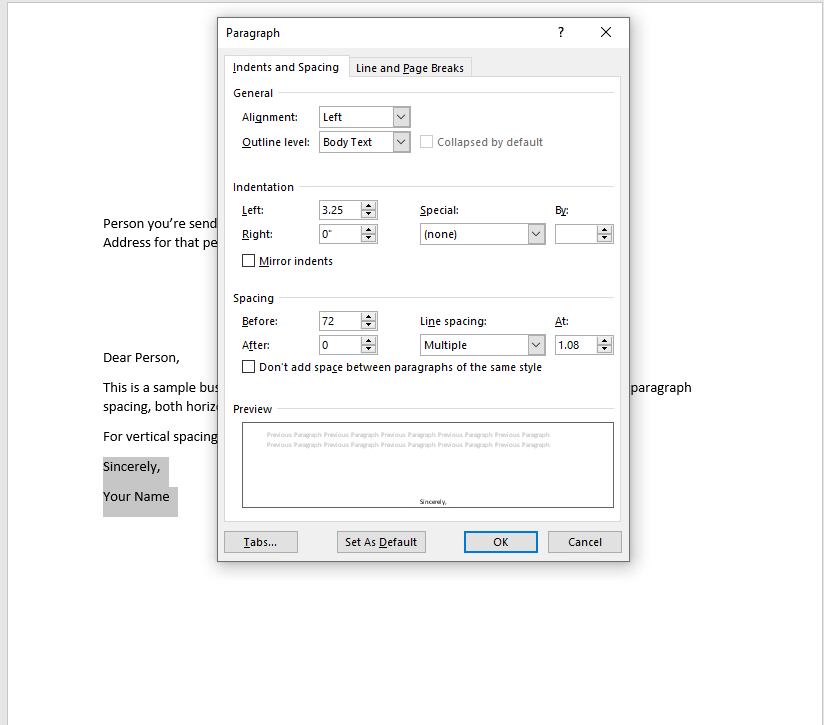
Editing the paragraph options for a highlighted pair of paragraphs means that both paragraphs will get the new spacing applied to them. To add an extra inch of space above each, set the "Before" spacing to 72pt. I also set the "below" spacing to 0pt instead of the default 8pt. The signature lines should also be indented to the same starting point as the date at the top of the page; to do that, set the the left indentation to 3.25":
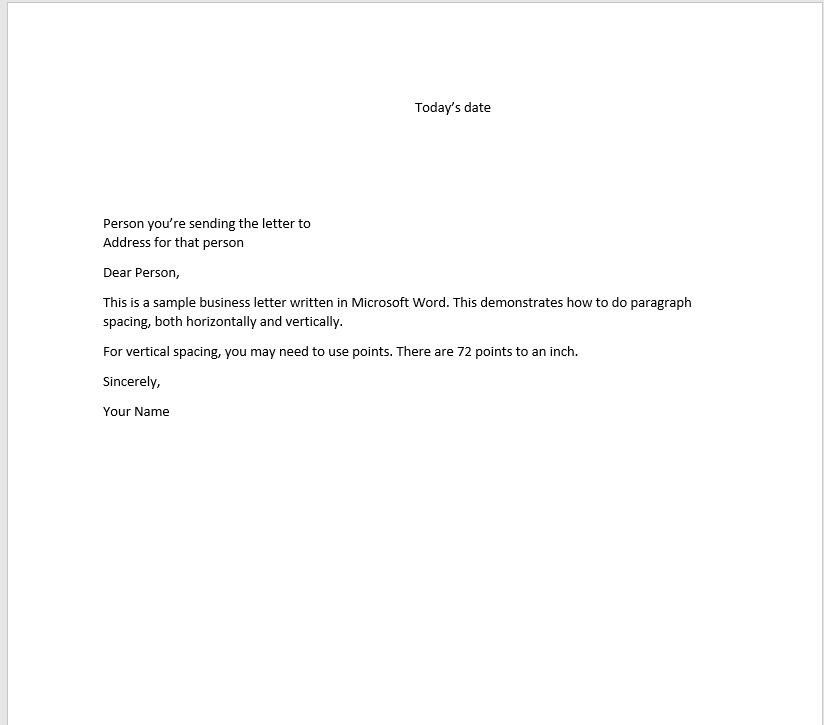
The finished document
With a few clicks to edit paragraph options and set spacing before and above my paragraphs, I've created a professional-looking business letter. For transmittal memos and similar printed letters, the few extra steps to add spacing can really transform how the final letter appears. I've turned a quick letter into professional correspondence:

Robin Bland is a technical writer in the Minneapolis/St Paul area.