 How I format workbooks in LibreOffice Writer
In LibreOffice Writer, using styles makes it easy to keep everything looking consistent.
I provide training and workshops as part of my consulting practice. When I do these engagements, I like to provide my clients with a workbook that provides a reference to the material as well as a space to take notes during the session.
I could take the easy route and write my workbooks using plain, direct formatting like bold and center, and ctrl+Enter to break a new page. But I'm also a technical writer, and that means I want to make sure my materials look as good as they can be. And for that, I prefer to use page styles and paragraph styles to control the formatting in the document.
Whenever I start writing a new workbook, I first make sure the document is set up correctly. That means a cover page, copyright information, table of contents, and chapters that always start on the Right Page. Here's how I start a new workbook document with these settings using LibreOffice:
Set up the right page size
I might produce workbooks in different sizes, depending on the venue and topic. Most of my workbooks are 8½×11, which is a common print size at my local printer, anyway. But for this example, I'll use 6×9, so the screenshots don't need to be quite so large to show everything.
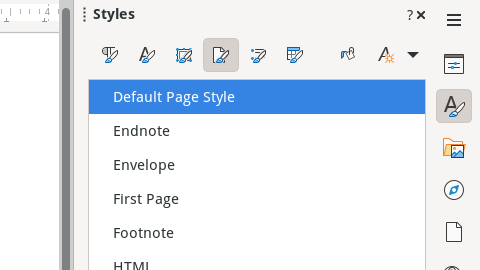
First, click on the Page Styles view, and right-click on Default Page Style to edit the style.
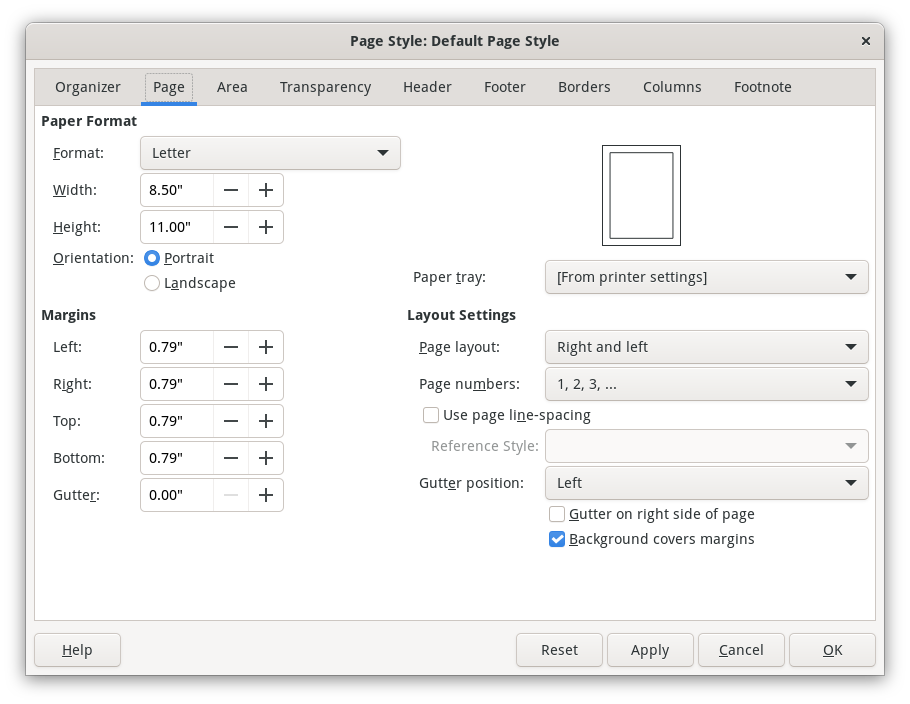
The default for new documents is 8½×11 with 0.79-inch margins. But you can change that to a new size with different margins by editing the values:
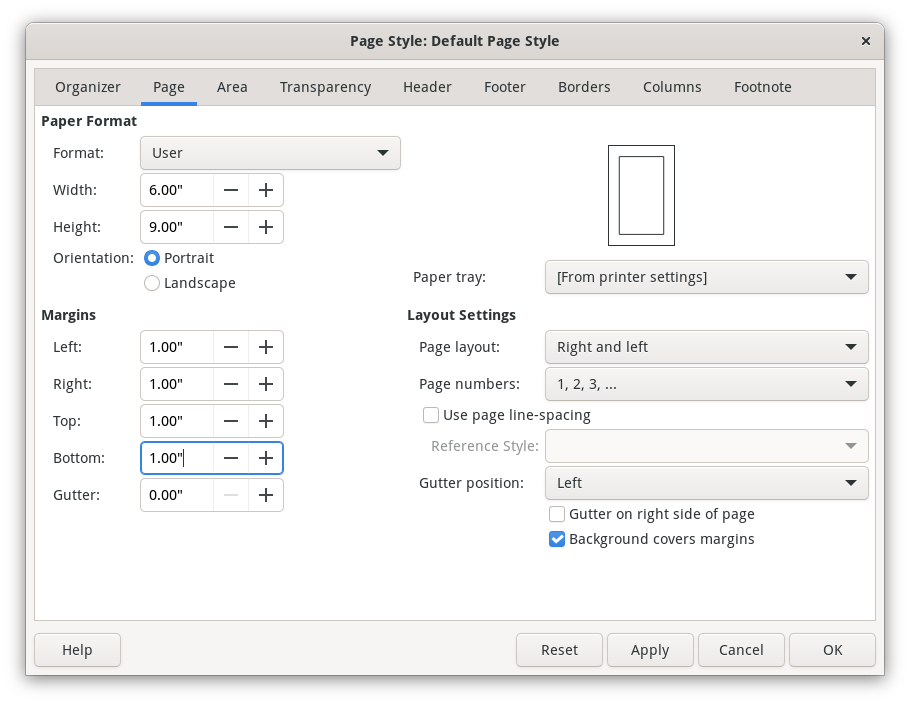
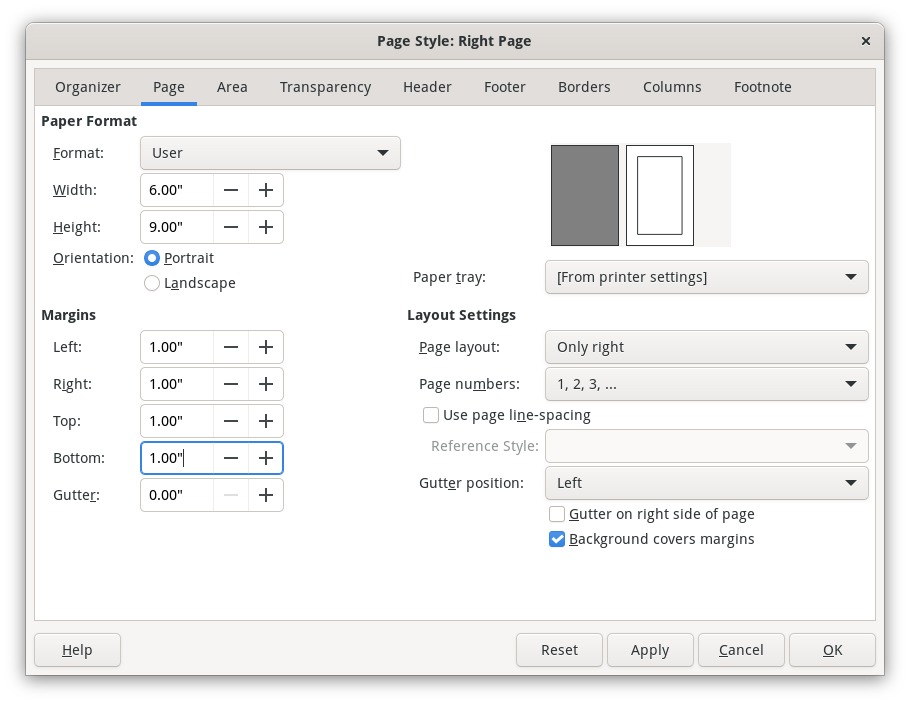
For this demonstration, let's change the page size to 6×9 and set the margins to 1-inch each on left, right, top, and bottom:
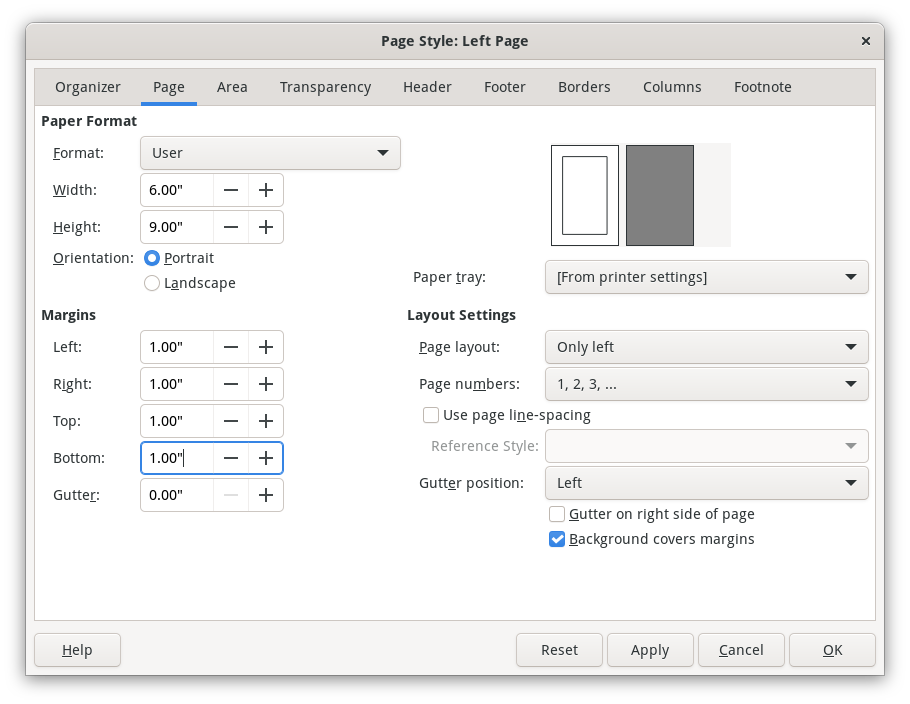
Make the same changes for the other page styles: First Page, Left Page, and Right Page:

Add the placeholder text
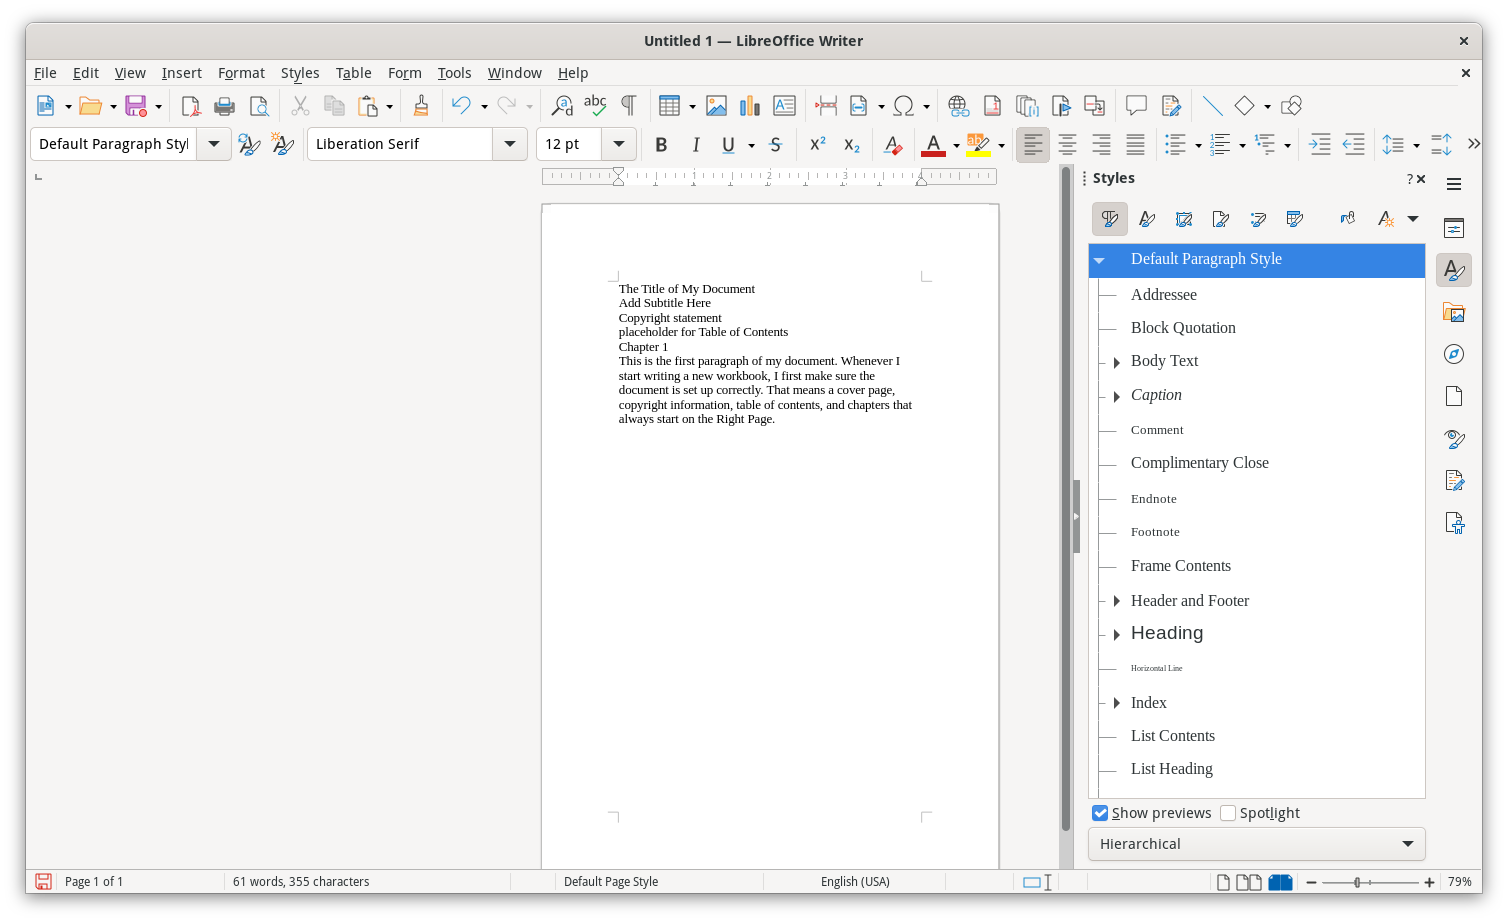
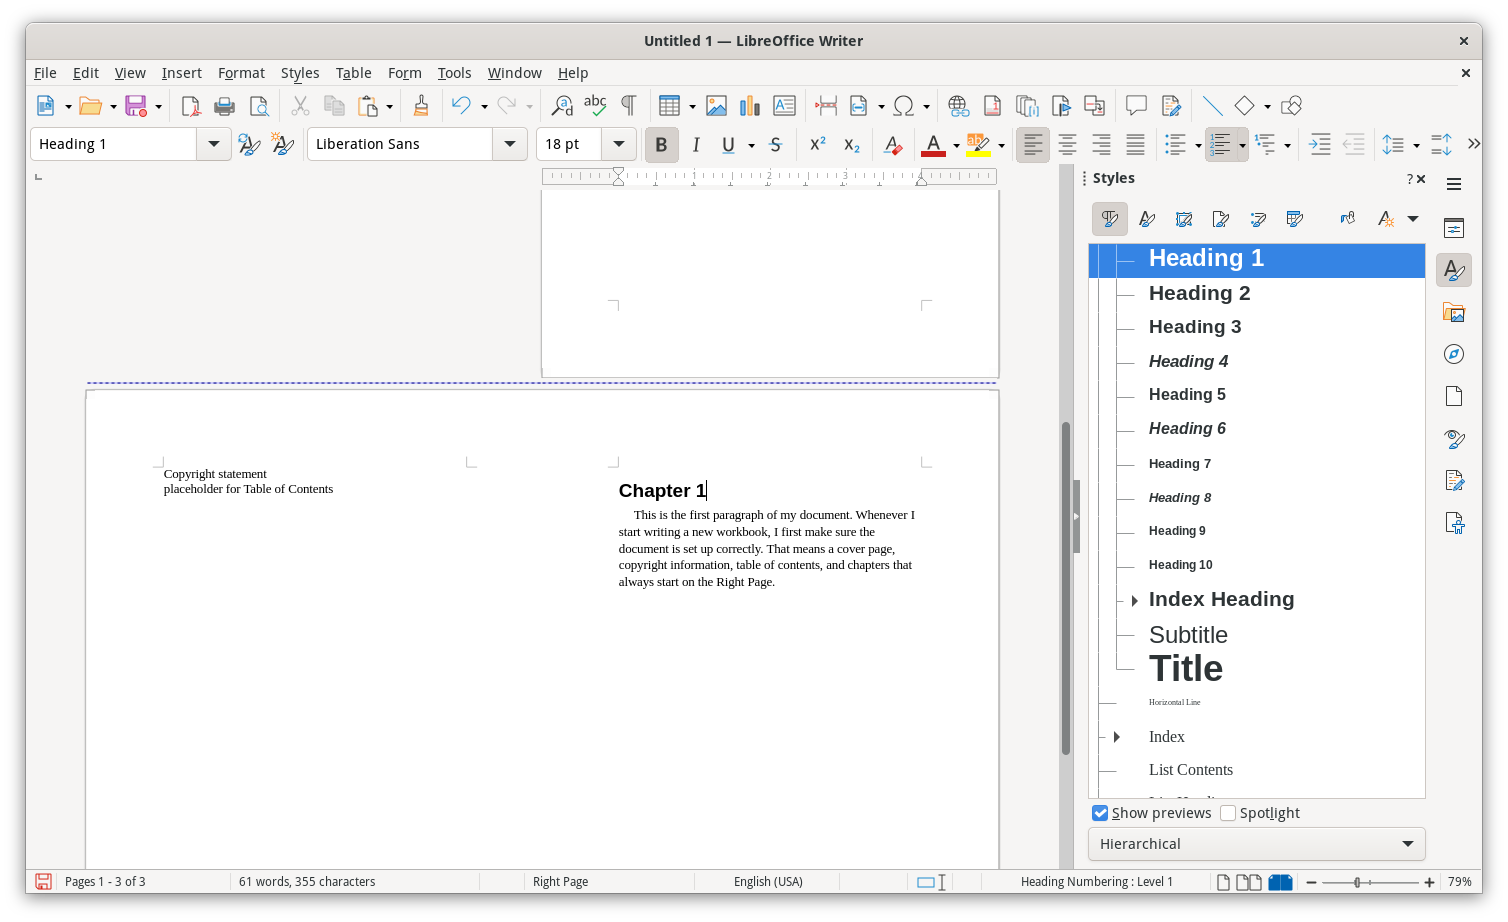
With my pages set up the way I want them, I can then start to write the workbook. But before I do that, I first add some placeholder text to make sure everything in my document looks consistent. For example, I like to print the title about halfway down the first page, and I prefer chapters to always start on the Right Page. To get started, add some placeholder text for the title, subtitle, copyright statement, table of contents, and body text:
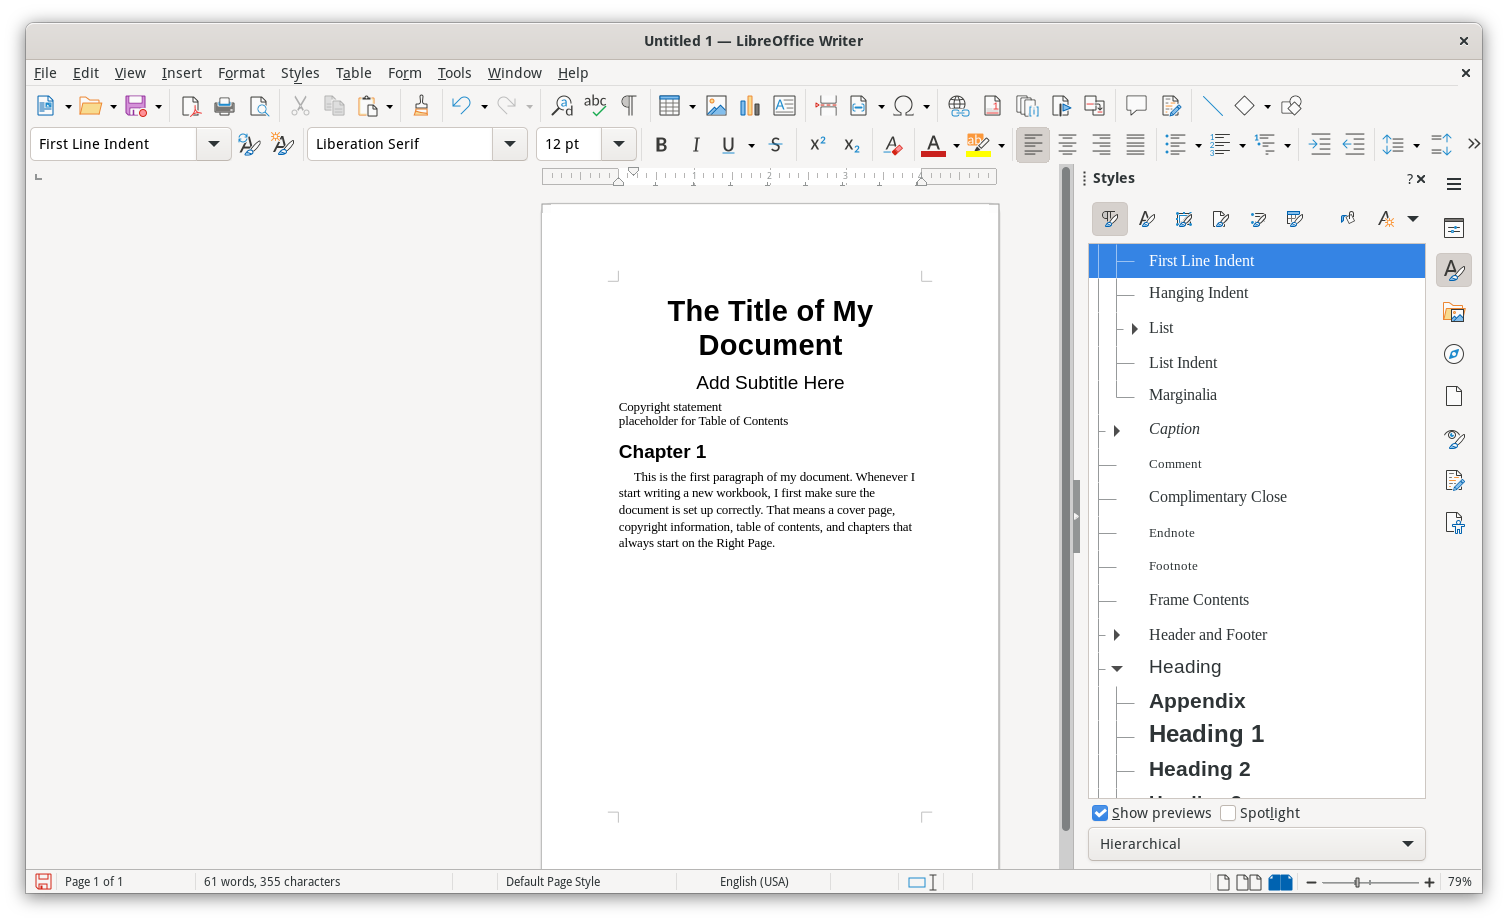
Then I apply styles to everything. These will be whatever defaults are defined in LibreOffice Writer, but we can change that later. Use the Title style for the document title, the Subtitle style for any subtitle text (I usually enter my company name, but this can be anything), and Heading 1 style for the chapter title. I usually use First Line Indent for the body text, which I've shown here:
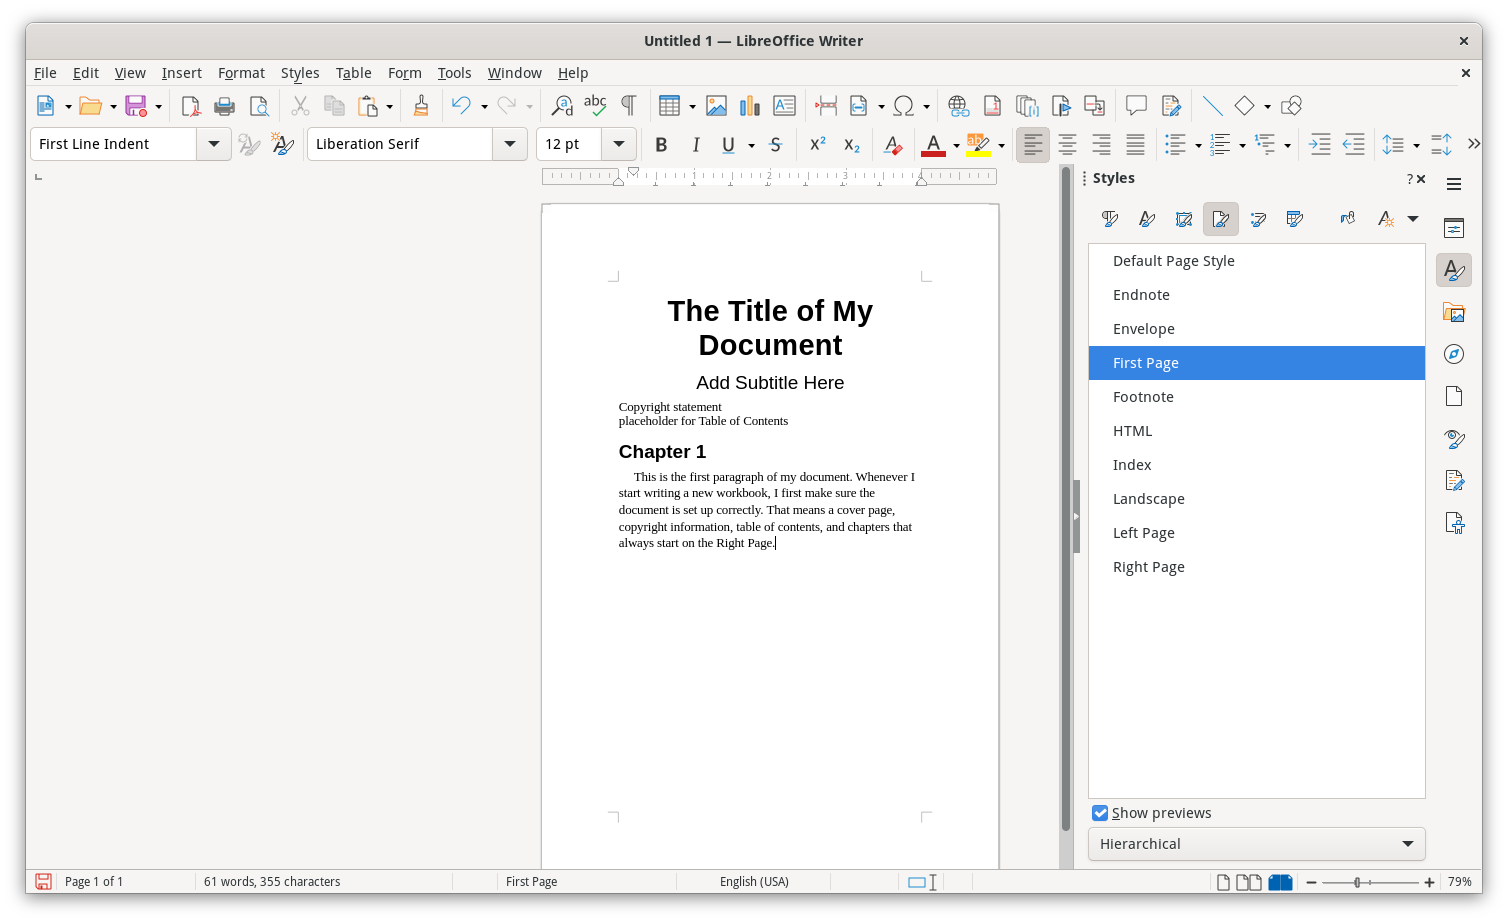
Finally, change the page style to First Page, since this will be the cover page for the workbook:
Make the cover page its own page
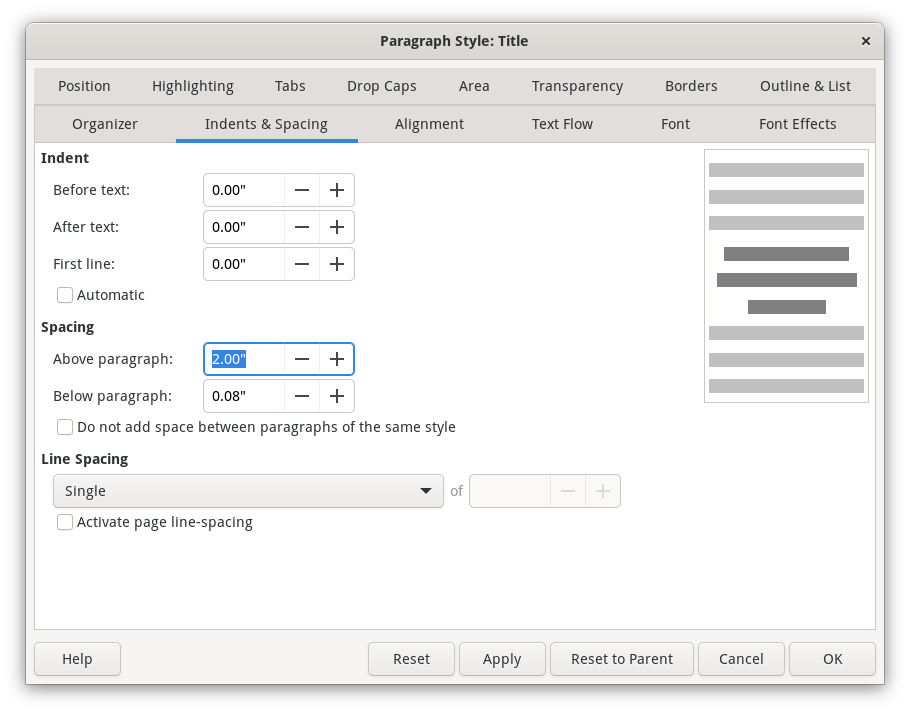
To make the document look really professional, I modify the paragraph styles. Since I want to print the title about halfway down the page, the first change I make is to apply about two inches of spacing above the Title style. I usually make other changes here too, such as setting a new default font for any Heading styles, but I'll leave that out for this example and just stick to the defaults:
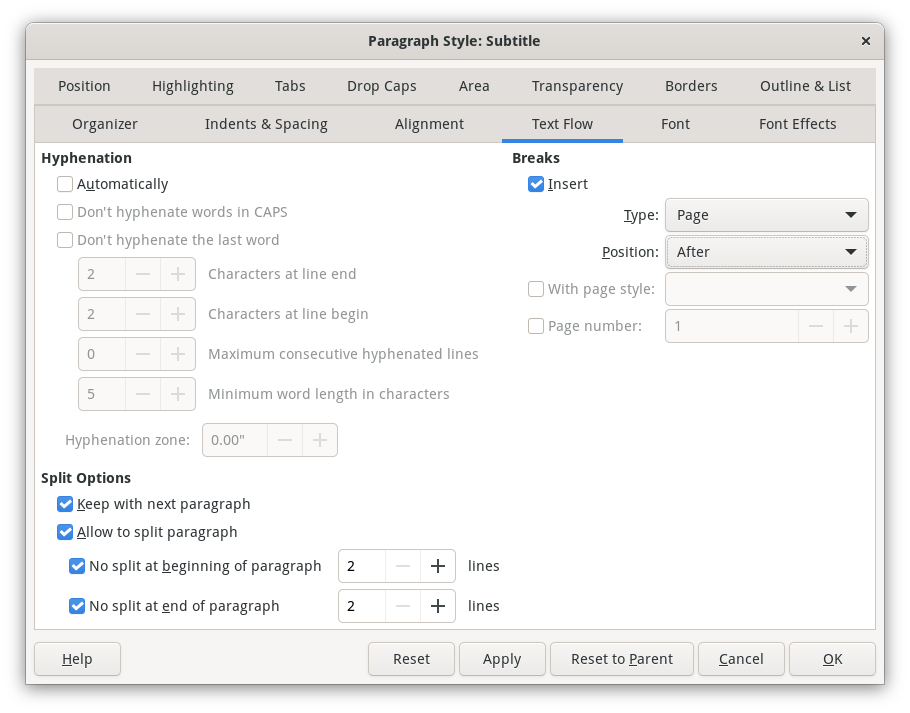
The cover page should just contain the title and subtitle, so I also edit the Subtitle style to add a page break after the subtitle:
With these changes, my cover page will be its own page in the finished workbook. Notice that the copyright statement and other text has now been pushed to "page 2" in the document:
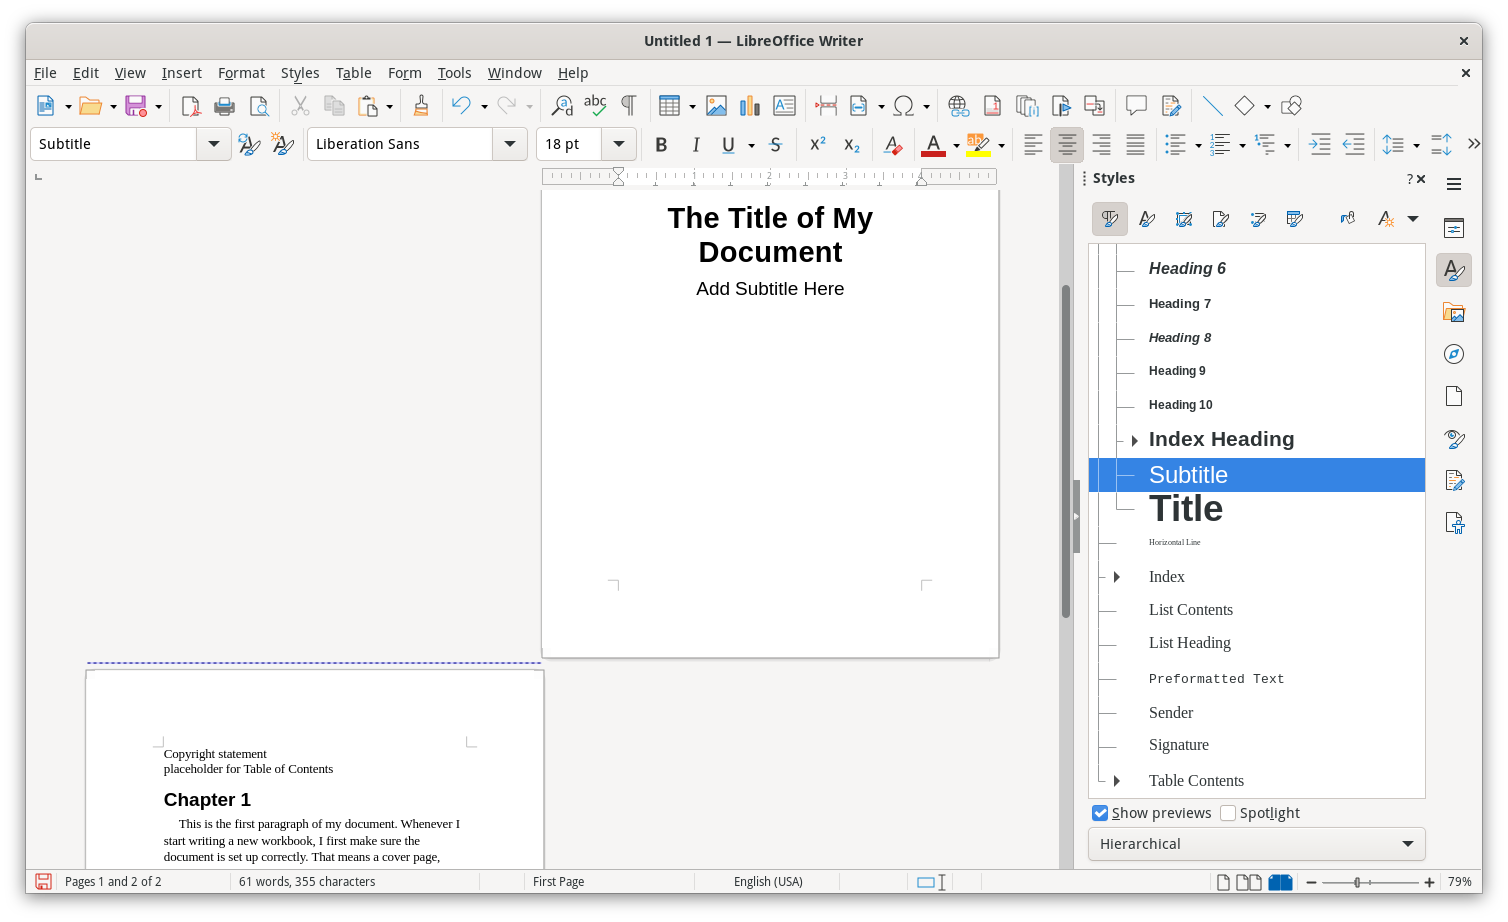
Adding this page break will automatically change the page style on "page 2." The cover page was set to First Page style, but "page 2" now uses Default Page Style. This style is important, as it will allow you to add page headers or footers to the Default Page Style without affecting the cover page.
Start chapters on the Right Page
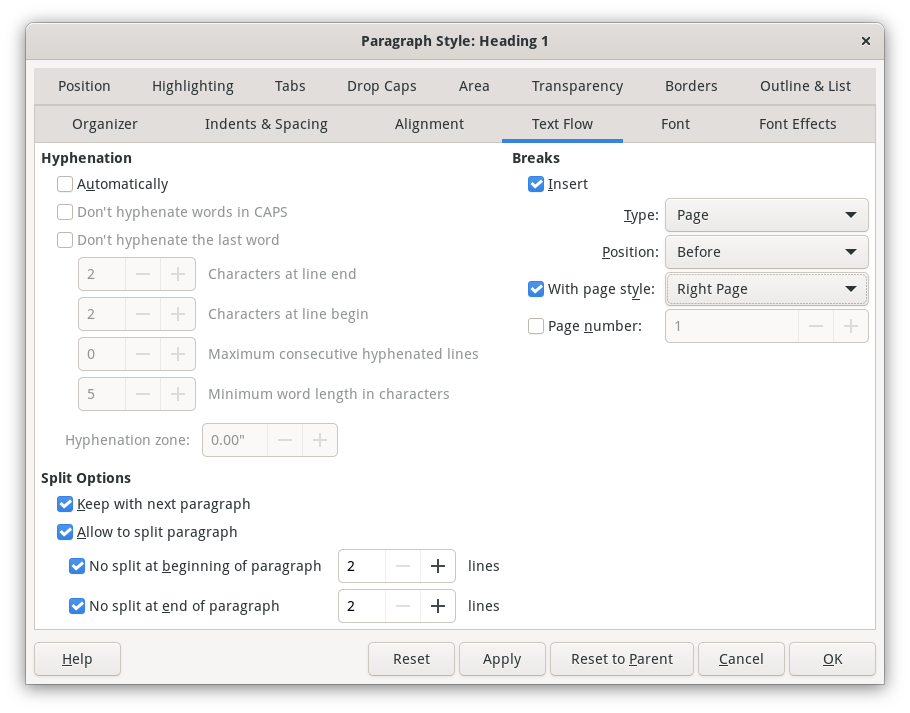
If you look at formal technical books, you may notice that chapters usually start on odd pages. Because books start with the cover page as "page 1," which is a Right Page, that means chapters in these books also need to start on the Right Page. To do that in LibreOffice, edit the Heading 1 style and insert a new page break before the style, with Right Page as the new page style:
This will ensure that chapters (which use the Heading 1 style) will always start on the right. If there's text on the left page, then LibreOffice will add a new page break to start a chapter. If the previous text ended on the right, then LibreOffice will automatically insert a blank page to ensure the chapter starts on the Right Page:
Add a table of contents
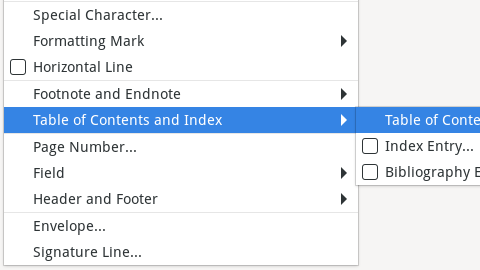
With a short document that is only a few pages long, the reader can navigate on their own to get what they need But longer documents such as workbooks need a table of contents to help the user navigate to the right chapter or section within the book. To add a new table of contents, highlight the placeholder text for the table of contents, then use the Insert > Table of Contents and Index > Table of Contents menu action to create the table of contents.
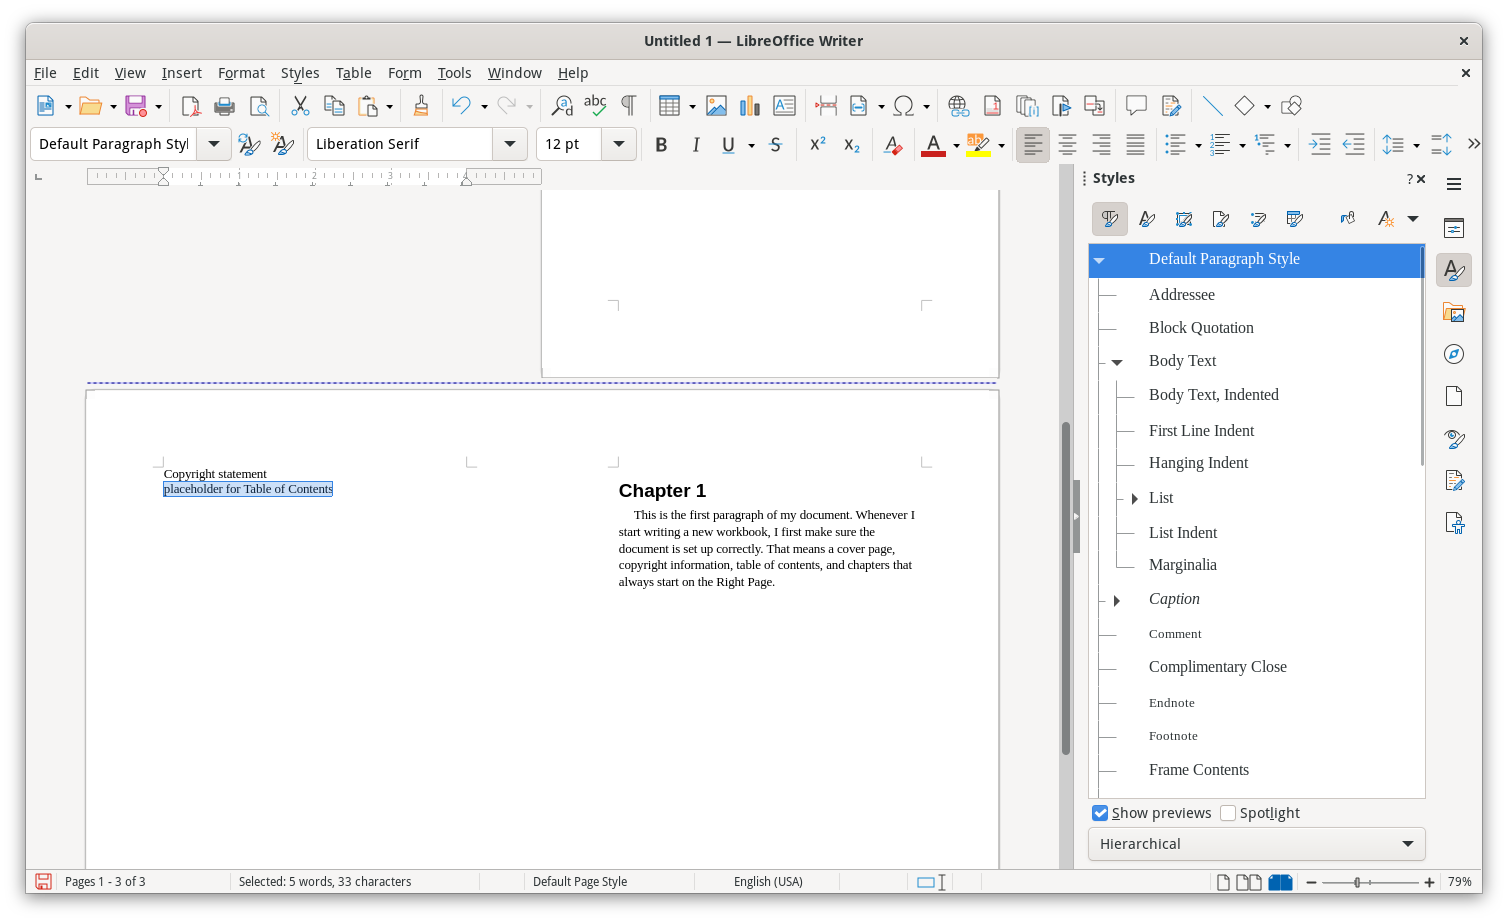
If you highlighted the placeholder text, the new table of contents will replace it:
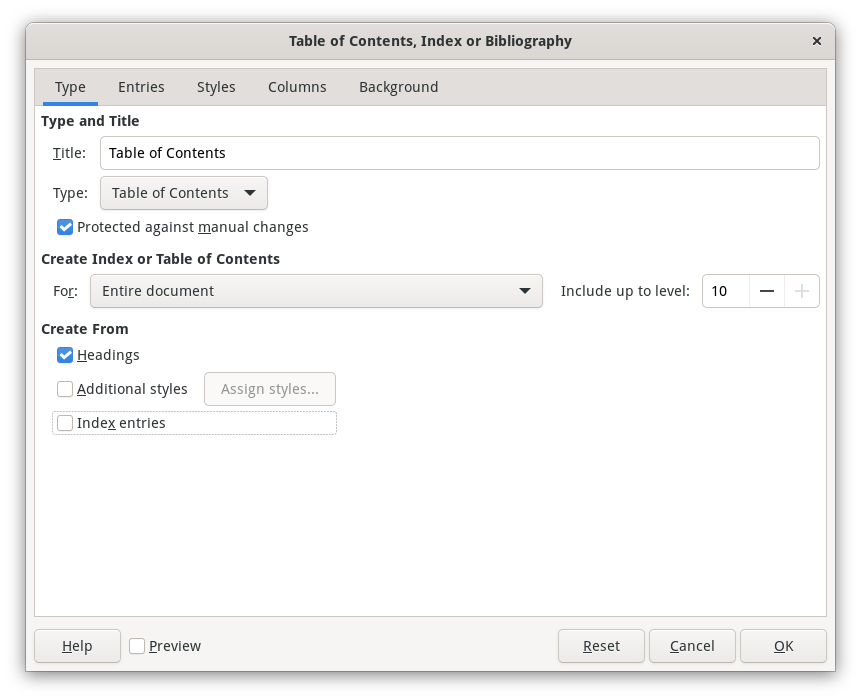
The defaults are usually fine for what I need to do. For example, LibreOffice Writer will use the title "Table of Contents" as the default title unless you change it. LibreOffice will scan the document to look for headings and automatically create the table of contents based on any headings it finds. I usually turn off Index entries at this step, because my table of contents doesn't need to track index entries:
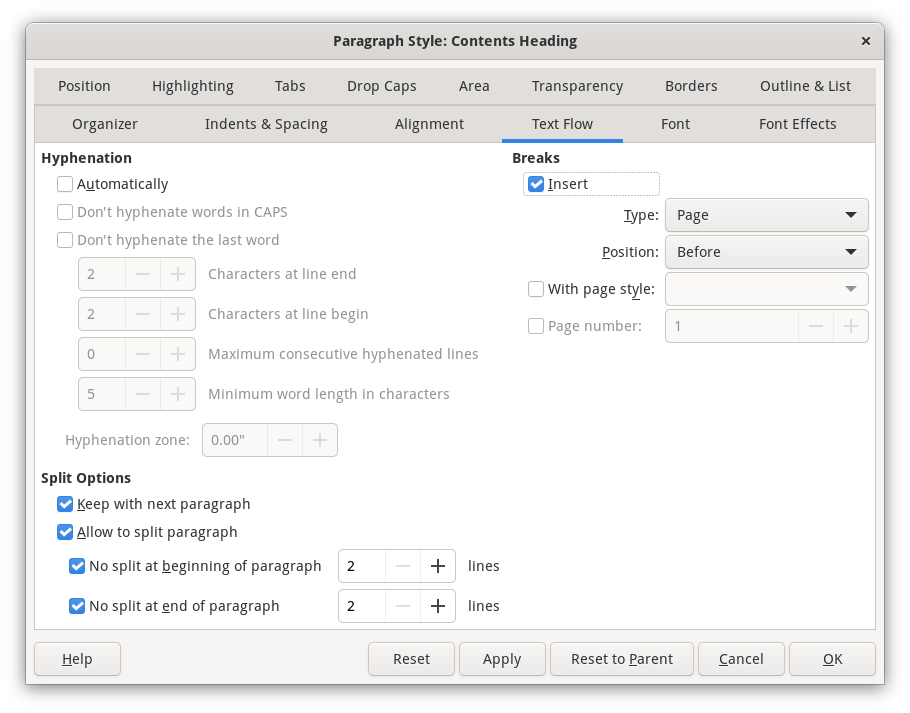
After LibreOffice adds the table of contents, right-click on the Contents Heading style and edit it. I prefer the table of contents to start on a new page, so insert a new page break before the style:
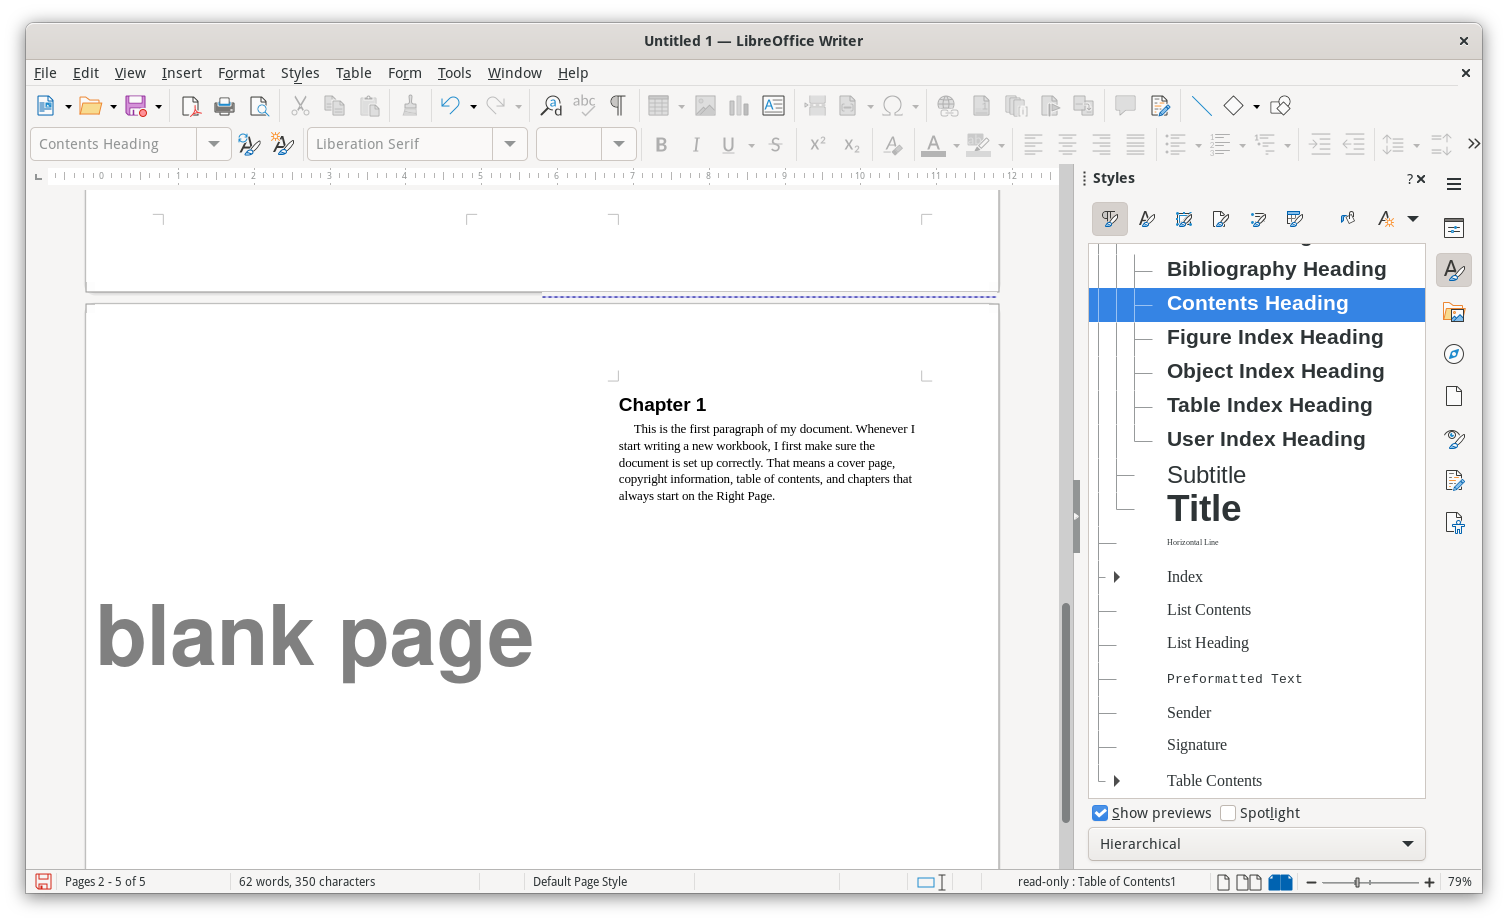
LibreOffice takes care of the rest. The table of contents now starts on "page 3":
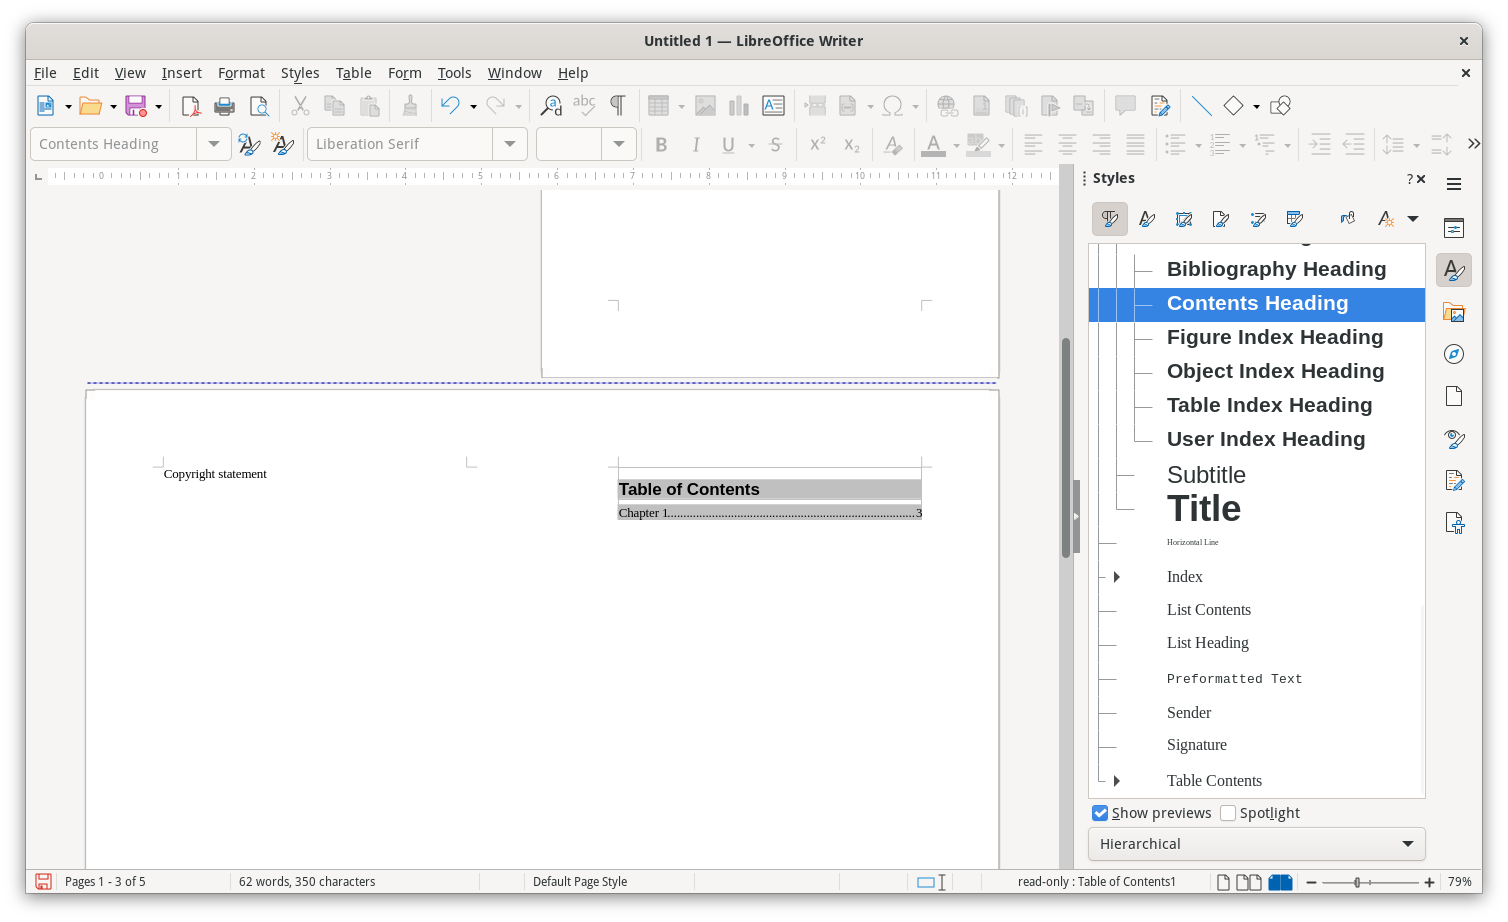
Because the table of contents is on an odd-numbered page, which is on the right, LibreOffice will automatically insert a blank page to ensure the first chapter starts on a Right Page:
Styles make it easy
While you can create documents without using styles, and I might do so for documents that are one or two pages, using styles makes it so easy to keep everything looking consistent. This is critically important when I create training materials. I want to ensure that the entire workbook is presented as a professional work.
I use styles for everything. When writing my workbooks, I also change certain text styles, such as a different serif font for the body text, and a new sans-serif font for headings, page headers, and page footers. With styles, I can update the style once and it gets applied everywhere. This makes creating professional content a breeze.

Jim Hall is an open source software advocate and technical writer. At work, Jim is CEO of Hallmentum, an IT executive consulting company that provides hands-on IT Leadership training, workshops, and coaching.