 Writing your own web pages
Get back to basics by building a web page with only HTML and CSS.
Websites are an excellent resource for open source software projects. A website provides an ideal opportunity for users to learn more about your project. Project websites can share additional information, screenshots, sample code, videos, and other resources that developers and users will find useful.
If you are interested in starting your own website, this article is for you.
Build your own
You certainly don’t need to build a website for your open source software project. These days, you can host your open source software project on places like GitHub or GitLab, and get by with the standard “Readme.md” style description of your project. That works great for many projects and is a perfect solution for developers who want to focus more on writing the code for their project than maintaining a website.
But if you want to create a website, you can leverage tools and site builders to do the work for you. For example, the open source TYPO3 web content management system is an excellent website builder. Or you can use a number of other open source content management systems and site builders to create and manage a project website, all without having to learn any HTML code at all.
But in the spirit of open source software, I prefer to code my open source project websites by hand. And in this article, I’ll show you the basics of building your own website using HTML and CSS.
Elements and structure
HTML is a simple hypertext markup language that is easy for humans to write and easy for computers to read. The core of HTML is the element, also called a tag. This is a special kind of document markup that tells a web browser about the page, or something inside the page. HTML tags begin with the less-than symbol (<) and end with the greater-than symbol (>). For example, the tag to start an HTML page is:
<html>Most tags require you to separately mark the beginning and end of something. The ending tag includes a slash (/) inside the tag. For example, the tag to end the HTML page is:
</html>With that, we can see the top-level outline of a web page. The HTML code for this is:
<html>
...
</html>
Inside the start and end tags for the HTML page, you would include other code blocks. All pages need a body block to define the text body of the web page. Most pages also start with a special head block that defines certain parameters for the web browser, such as where to find the stylesheet. We’ll explore stylesheets later.
<html>
  <head>
  ...
  </head>
  <body>
  ...
  </body>
</html>
White space, including “new lines” and spaces and tabs are unimportant to the web browser, but most web developers will indent HTML blocks that are inside other HTML blocks to make the code more readable for humans. That is why I’ve indented the head and body blocks in my sample code.
A basic web outline
Most web pages follow a general outline. This is usually a header and navigation bar at the top, main content in the middle, and a footer at the bottom. The HTML version 5 standard defines tags to do just this. Let’s add to the code sample to include these tags:
<html>
  <head>
  ...
  </head>
  <body>
    <header>
    ...
    </header>
    <nav>
    ...
    </nav>
    <main>
    ...
    </main>
    <footer>
    ...
    </footer>
  </body>
</html>
Your web page content goes inside each of these blocks. For example, you should include your open source project’s name in the header. Also consider adding useful navigation links to the header, and your contact information and any social media links in the footer. You can define each of these elements using HTML tags.
To get started, you might use these common tags in your page:
<h1>to add a top-level heading (such as the page title)<h2>to add subheadings<p>for paragraphs<em>and<strong>to add emphasis and strong emphasis<a href="..">to link to other pages<img src=".." alt="..">to display images (with alternative text)
With these new tags, we can expand the HTML code sample to create a simple yet functional web page. Let’s add a logo and page title in the header and some simple text in the main body. We’ll also include links to other pages in the navigation bar, and a link to a website like GitHub, and a contact email address in the footer.
<html>
  <head>
    <title>Sample Website</title>
  </head>
  <body>
    <header>
      <h1><img src="logo.jpg" alt="coffee beans in a mug"> Sample Website</h1>
    </header>
    <nav>
      <a href="download.html">Download</a>
      <a href="wiki.html">Read the wiki</a>
    </nav>
    <main>
      <h2>Welcome!</h2>
      <p>Websites are an excellent resource for open source software projects.
      A website provides an ideal opportunity for users to learn more about
      your project. Project websites can share additional information,
      screenshots, sample code, videos, and other resources that developers and
      users will find useful.</p>
      <p>Let's get started.</p>
    </main>
    <footer>
      <a href="https://github.com/">GitHub</a>
      <a href="mailto:email@example.com">Email me</a>
    </footer>
  </body>
</html>
When viewed in a web browser, this is what you’ll see:

Change the look
If you view this simple web page in a browser, you’ll find it’s just plain text. You can add some pizzazz to your web pages by using stylesheets. The stylesheet is usually a separate file that tells the web browser how to display certain parts of your web page. You might set your web page fonts here, or your background colors, or other styling.
The format of the stylesheet is quite different from HTML. In stylesheets, you give the name of the tag or “element” that you want to modify, then list the different styles in a set of curly braces. For example, this simple stylesheet defines text color and background color for everything that’s inside the block, which is the entire page.
body {
  color: black;
  background-color: white;
}
If you’re just learning about how to create web pages, I recommend you start with these simple stylesheet instructions:
background-colorto set the text background colorcolorto set the text colortext-alignfor left, right, and center alignmentmarginto add space outside an elementpaddingto add space inside an element
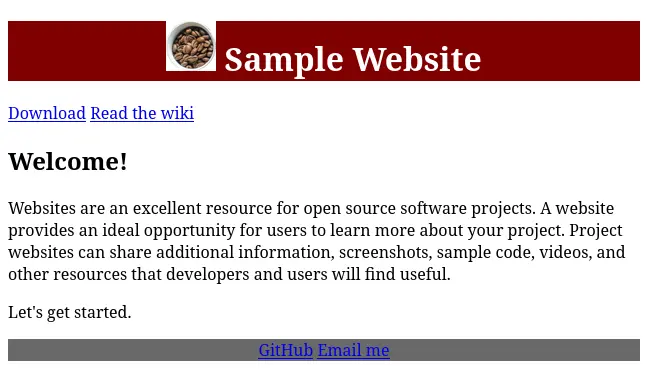
You can embed the stylesheet in your HTML page by including it in the head section, using a <style> block. Let’s add a very simple stylesheet that sets the default colors to be black on white, the header to centered white text on a maroon background, and the footer to light gray text on a dark gray background. We’ll also set the logo to be 50 pixels tall.
<html>
  <head>
    <title>Sample Website</title>
    <style>
header {
  text-align: center;
  background-color: maroon;
  color: white;
}
img {
  height: 50px;
}
main {
  background-color: white;
  color: black;
}
footer {
  text-align: center;
  background-color: dimgray;
  color: lightgray;
}
    </style>
  </head>
  <body>
  ...
  </body>
</html>
Here’s what that looks like when viewed in a web browser:
Update the styles
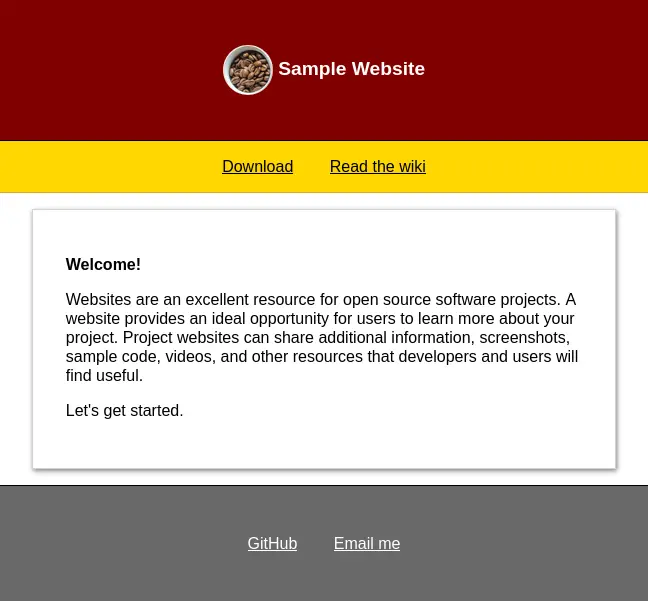
Stylesheets allow you to completely change the look of the website without changing the HTML code. Here’s a more advanced stylesheet that adds new colors, fonts, spacing, borders, drop shadows, and alignment to give the same HTML a fresh look:
<html>
  <head>
    <title>Sample Website</title>
    <style>
body {
  font-family: Helvetica, Arial, sans-serif;
  font-size: 12pt;
  margin: 0;
}
header {
  text-align: center;
  background-color: maroon;
  color: white;
  padding: 2em;
}
h1 {
  font-size: 1.2em;
}
h2 {
  font-size: 1em;
}
nav {
  background-color: gold;
  border-top: 1px solid black;
  border-bottom: 1px solid goldenrod;
  padding: 1em;
  text-align: center;
}
  nav a {
    color: black;
    padding: 1em;
  }
img {
  display: inline-block;
  height: 50px;
  vertical-align: middle;
  border-radius: 50%;
}
main {
  background-color: white;
  color: black;
  border: 1px solid lightgray;
  box-shadow: 1px 2px 4px gray;
  margin: 1em 5%;
  padding: 2em 5%;
}
footer {
  text-align: center;
  border-top: 1px solid black;
  background-color: dimgray;
  color: lightgray;
  padding: 3em;
}
  footer a {
    color: white;
    padding: 1em;
  }
    </style>
  </head>
  <body>
  ...
  </body>
</html>
When viewed in a browser, it will look like this:
Master the basics
This is just an introduction to writing your own HTML web pages. There is lots more to learn. By experimenting and with a little practice, you can build your own web pages that look clean and modern, yet are easy to maintain.
Having mastered the basics, you can use these other resources to learn more about creating web pages, including HTML and stylesheets:
W3Schools is an excellent resource for building web pages. It also includes tutorials and code samples to get you up and running quickly. I often use W3Schools as a reference when I’m trying something new.
Mozilla’s HTML Guide provides a gentle introduction to using HTML. Mozilla also provides Beginner’s tutorials so you can learn how to create your own web pages.
Mozilla’s CSS Guide is another great reference provided by the Mozilla folks. Includes tutorials that help you teach yourself about stylesheets.
PHP web programming can help you take your websites to the next level. Once you’re able to craft your own HTML pages, try adding PHP code to make your web pages more dynamic. This website includes lots of examples and tutorials.

Jim Hall is an open source software advocate and technical writer. At work, Jim is CEO of Hallmentum, an IT executive consulting company that provides hands-on IT Leadership training, workshops, and coaching.