 Master documents make it easy
Here's how I use master documents to reuse and remix content with LibreOffice.
I use LibreOffice to create all kinds of technical content. For example, as a consultant, I need to create workbooks for my training programs and workshops. These are "must-haves" for in-person training, because they provide a point of reference for the people in the workshops, during and after the training.
When I first wrote my workbooks, I created them the "classic" way: everything in one file. While this was easy to do, especially if you use styles for everything and let the styles do the work for you, I found it difficult to move content around in the document. For example, after the end of a training program, I might decide to change the order of topics. Let's say I have a very simple workbook with just a few sections in it:
- Introduction
- About the instructor
- Topic 1
- Topic 2
- Topic 3
If I decided that "About the instructor" should go at the end, I had to highlight the chapter contents and click and drag the section to the end of the workbook. Or if a customer asked for a custom workshop with only a few topics, I had to create an entirely new workbook by copying and pasting just those sections into a new document.
This was a manageable process for a few iterations of the workbooks, but I realized I needed a better solution. That's why I now use master documents to collect multiple documents into a single book interior. With a master document, I can keep all of my content in separate "sub-documents," and reuse and remix the content in a new master document. If I update the content in a sub-document, it is automatically updated in the master document.
Here's how I do it:
Separate content into documents
Let's create a sample workbook with just a few sections in it. Since this is a demonstration, I won't fill this with actual content; instead, I'll just write a "Heading 1" for each "chapter title," each in separate documents. Here's a LibreOffice document titled "Introduction":
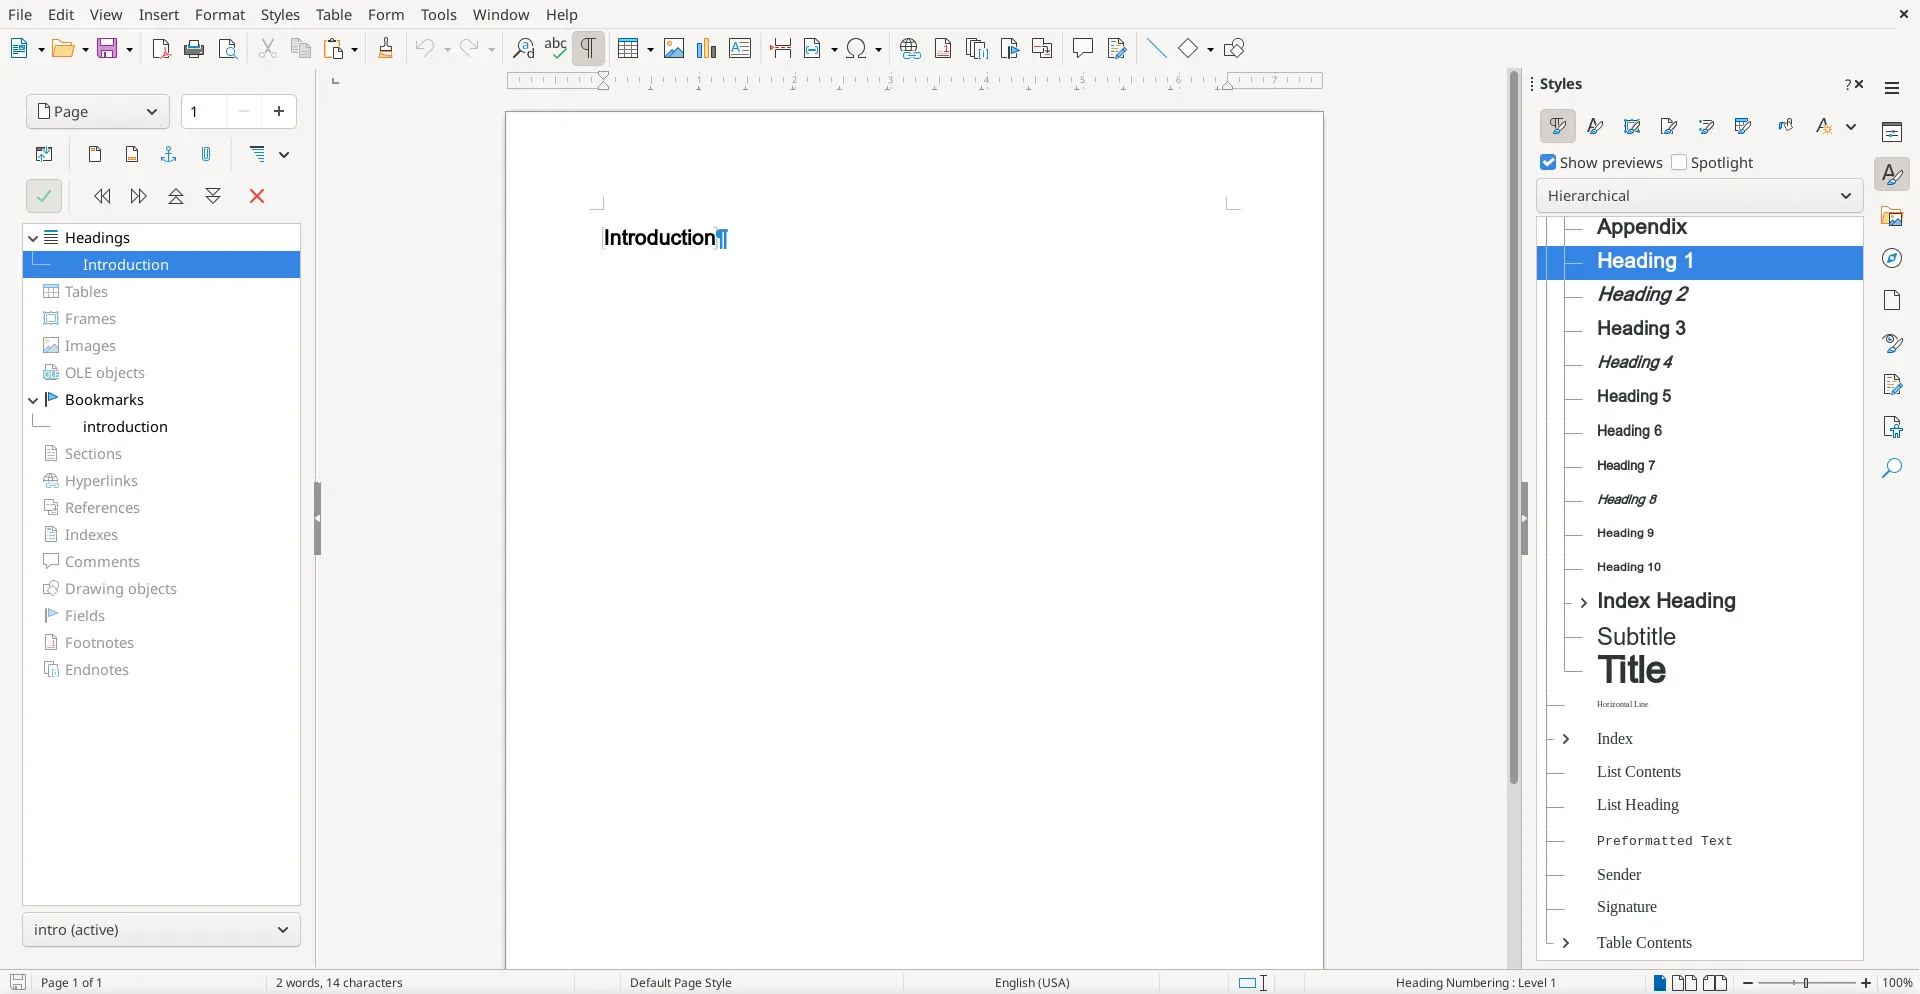
I've done the same for a few other sections: "About" and topics 1 to 3.
If my LibreOffice interfaced looks a bit different from yours, that's because I'm using the "Sidebar" interface. You can choose a different user interface for LibreOffice using the View > User Interface menu. I prefer "Sidebar" because it makes it easier to work with styles (on the right side) and document navigation (on the left side). The navigator isn't shown by default, but you can add it by using View > Navigator in the menus.
Collect them into a master document
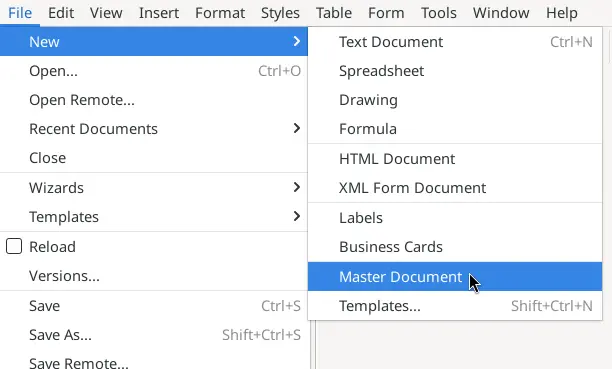
Use File > New to start a new master document, but instead of starting a "Text Document," create a "Master Document" instead. This is otherwise like a regular document, but with the added ability to include other "sub-documents" as content.
I always include the same "template" text in my workbooks: the front page needs a title (such as the name of the workshop or training program) and a subtitle (usually the name of my client). I also prefer to include a copyright statement on the next page, and a table of contents so readers can easily find their way around the document. For now, I'll just write "table of contents" as placeholder text; I'll replace it with a generated table of contents later.
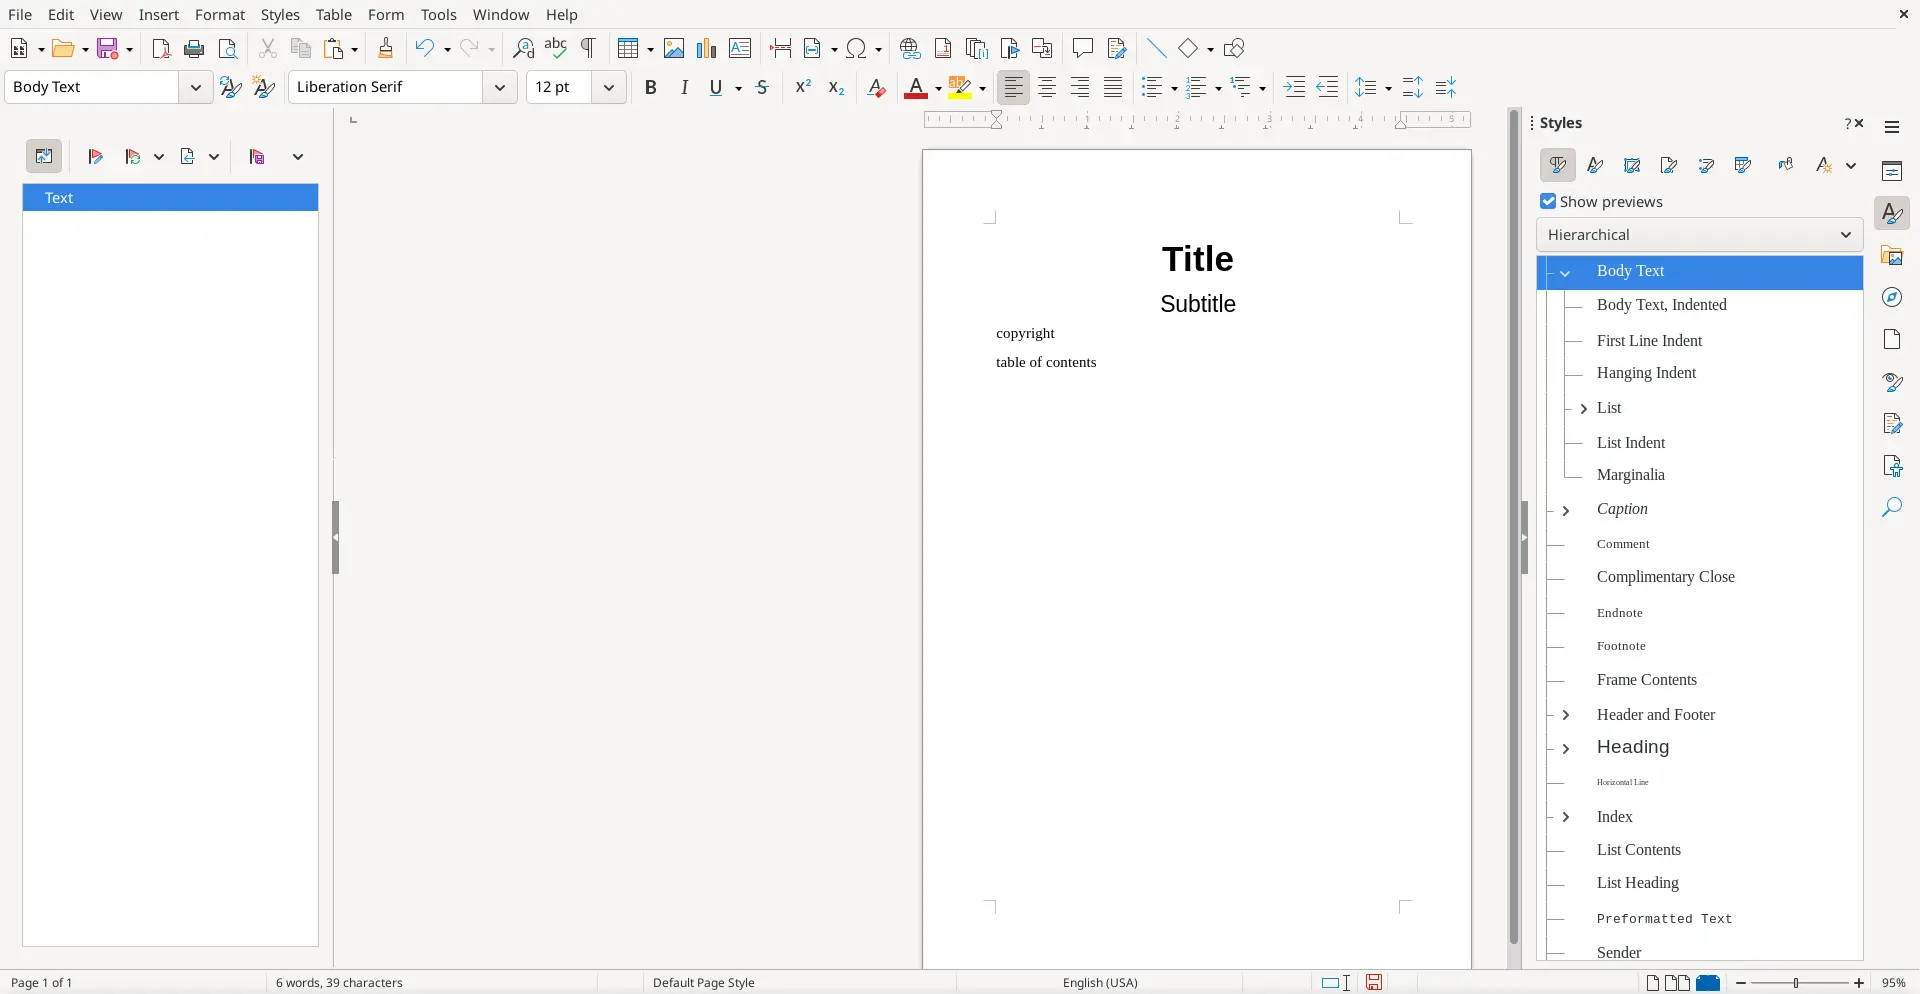
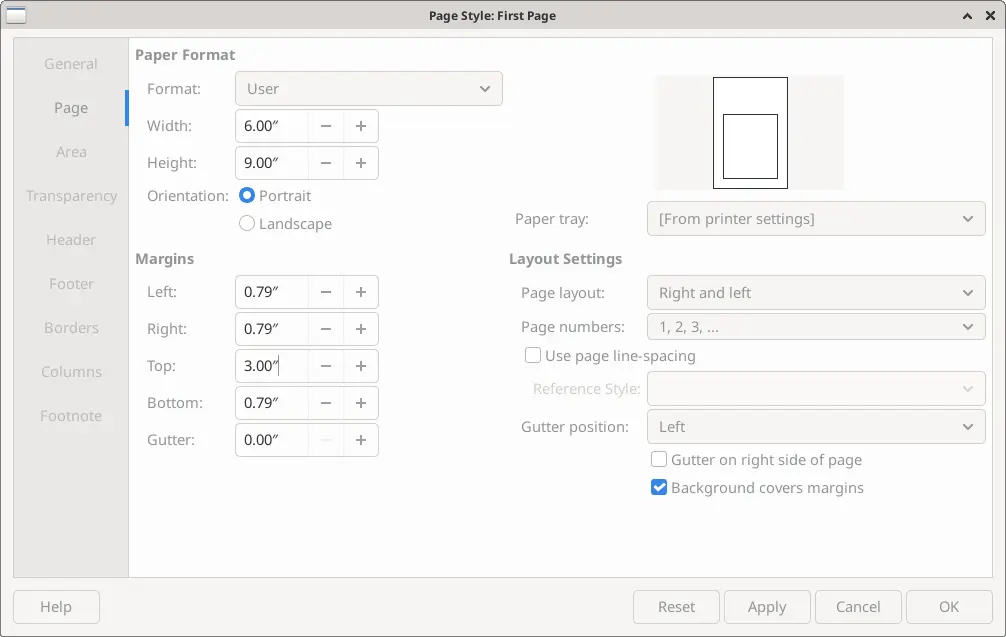
I usually format my training workbooks in US Letter size, which makes it easier for attendees to write in the workbook, especially if I use wide margins. But for this demonstration, I've used a 6x9 page size so the text will be bigger in my screenshots. The best way to do this is by modifying the page styles, such as this for the Default Page Style:
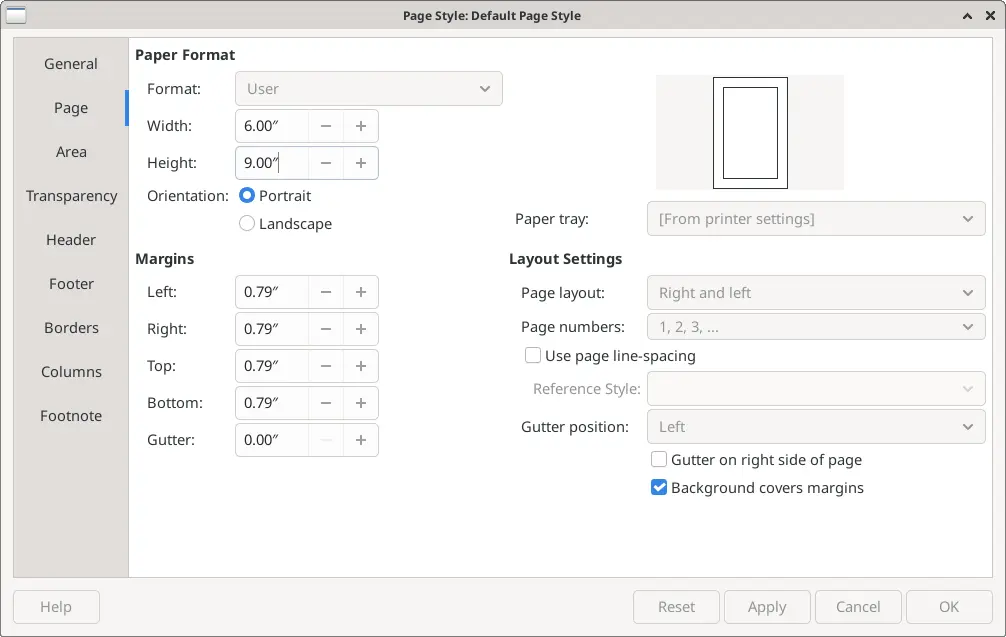
The cover page looks best if the title starts further down the page, so I usually set up the cover page with an extra top margin.
I also use Right and Left pages for the body content, which I'll show later on.
Add the content as sub-documents
I write the main content for my workbooks as separate LibreOffice
files, which I'll call "sub-documents." For example, I might have an
"About the instructor" chapter in a file called about.odt,
and an introduction to the workshop in intro.odt, and
separate content for each topic in files like
topic1.odt.
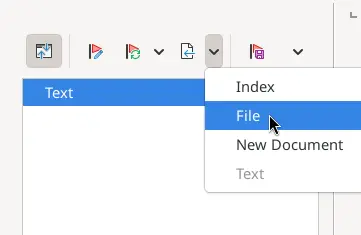
You can include this content into the master document with the navigator. Click the Insert icon and select File from the drop-down menu:
The navigator will open your operating system's file manager so you
can select the files to include. This is where it helps to keep all of
your project files in one location; for a training program, I might keep
all of my sub-documents in a Training folder so I can find
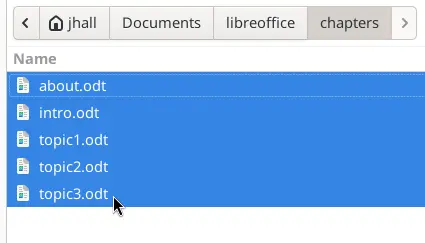
them in a predictable location. For this demonstration, I've saved my
sub-documents in a chapters folder, which makes it easy to
select everything at once:
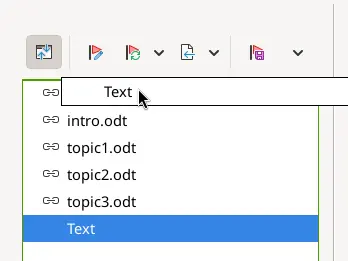
LibreOffice will insert the sub-documents into the master document. In this case, my files were inserted in alphabetical order, by filename, because I selected multiple files at once. The gray outline around the content in each file is a user interface color, indicating that the content is from a sub-document.
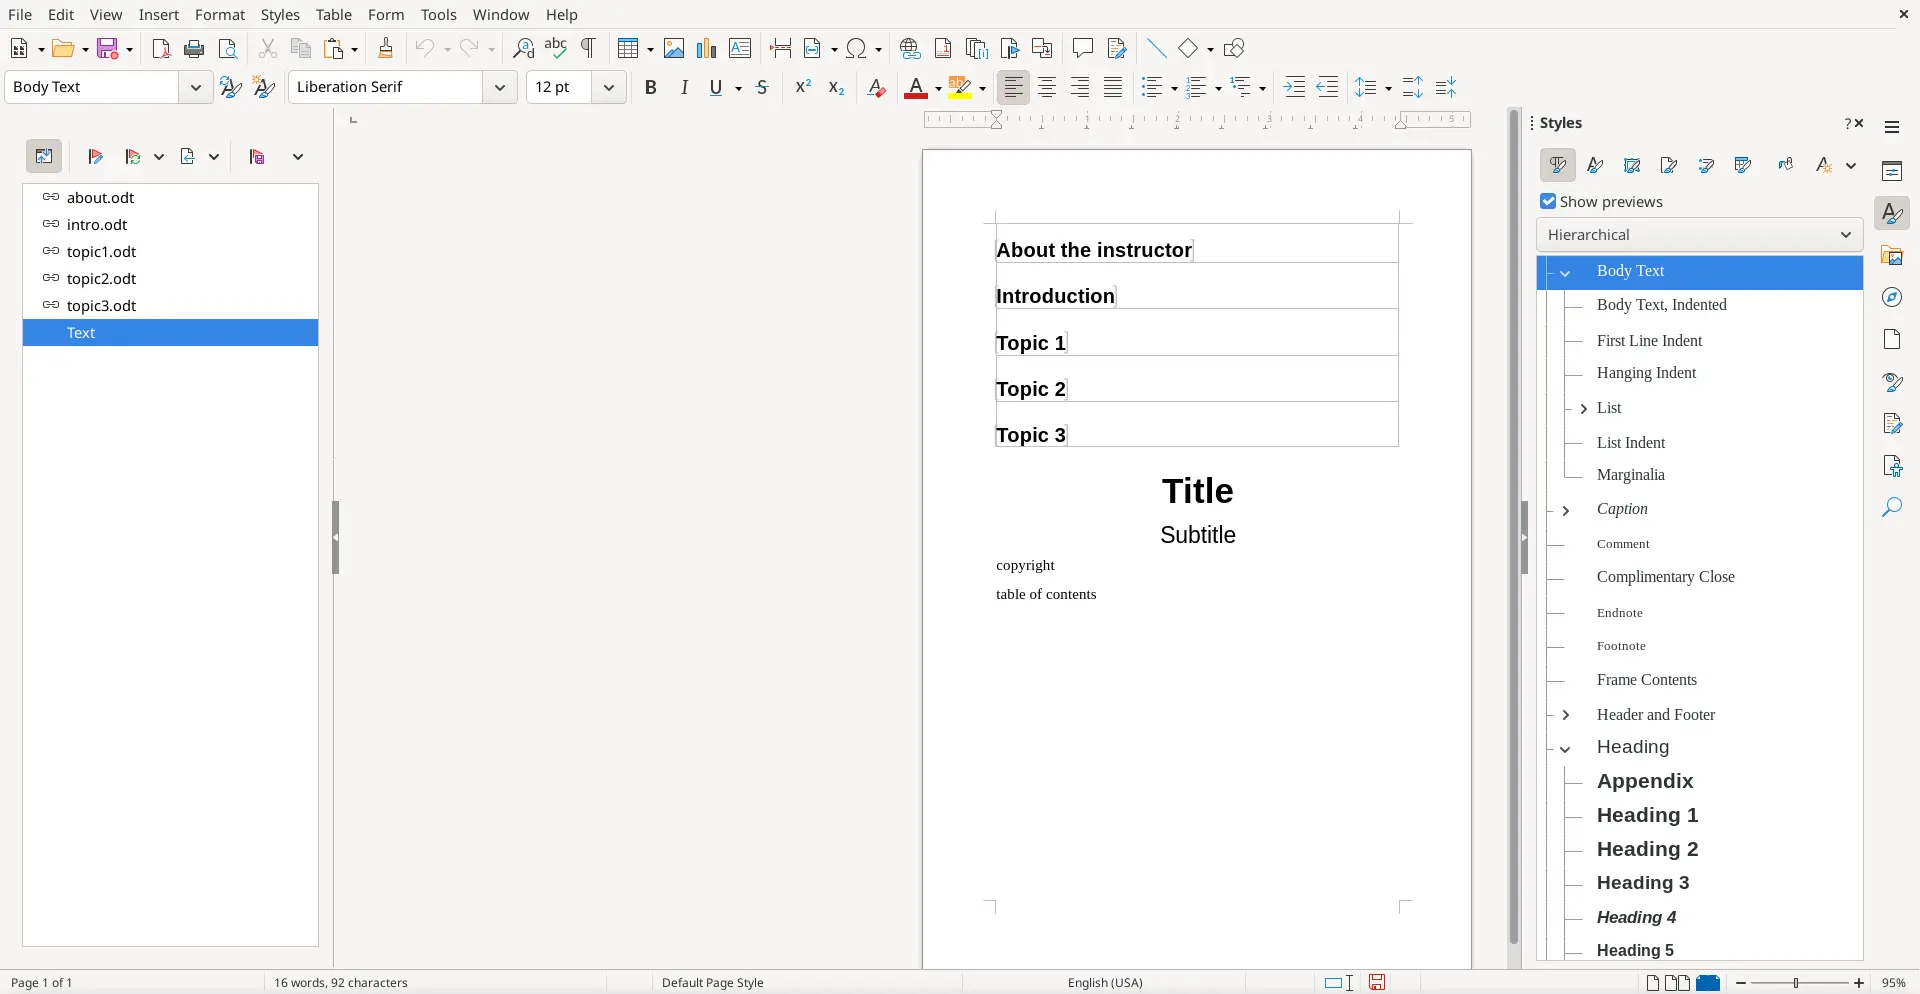
Unfortunately, the sub-documents were inserted at the top of my file, and I want them at the bottom. It's easy enough to use the navigator to move content around.
Note that each sub-document is listed as a separate entry in the navigator, and the text I typed into the master document is listed as "Text." You can click and drag each item with your mouse, to put things in the order you want them. For example, I can drag the "Text" content to the top of the list, which puts it at the top of the file.
I can rearrange the other entries into any order I like. In this case, I've reordered the sub-documents so the "Introduction" is first, then "About the instructor," followed by the three topics.

Style the content in the master document
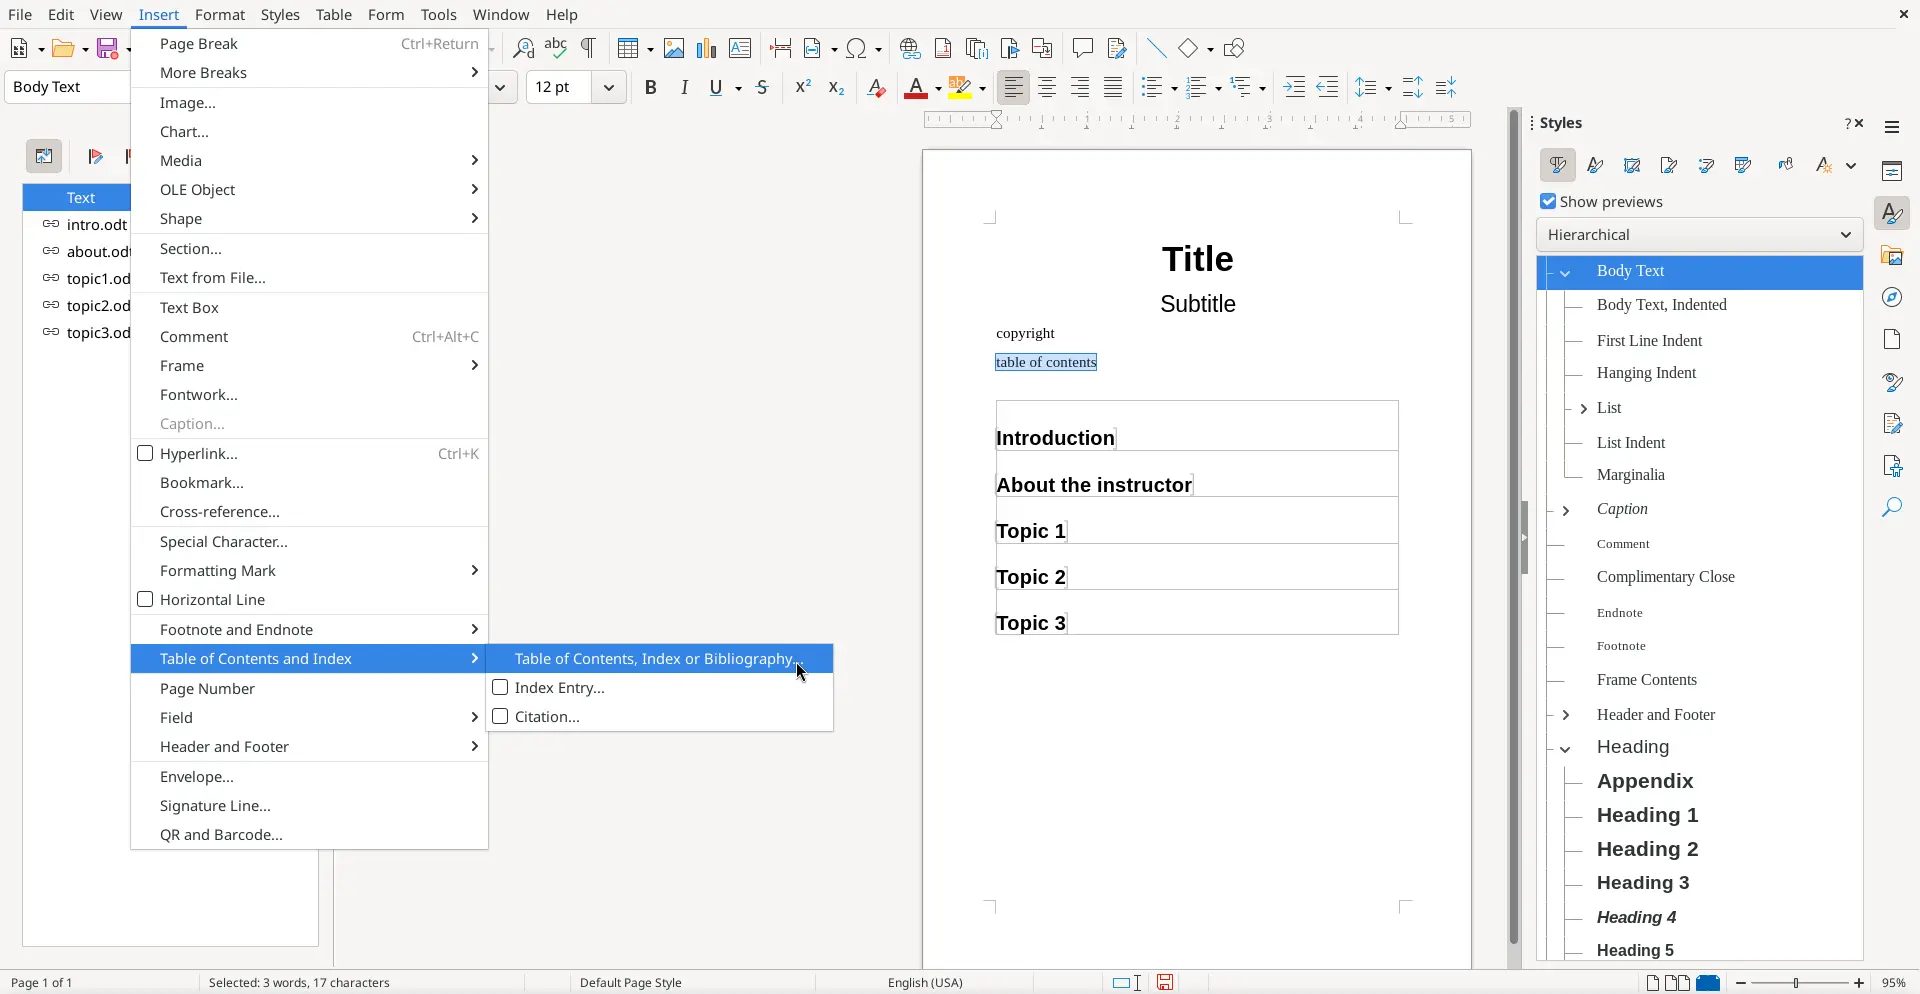
The rest of the steps are the same as you might follow to format a book interior as a single document. For example, to add the table of contents, select the "table of contents" placeholder text, and use Insert > Table of contents in the menu.
I find that it's much easier to work with master documents and sub-documents if the sub-documents all share the same document styles. I try not to do much extra formatting in these "chapter" documents, and use only the default styles. This keeps everything looking consistent when I include them as sub-documents in a master file, because I can do all the formatting in the master document and the styles apply to everything in the document.
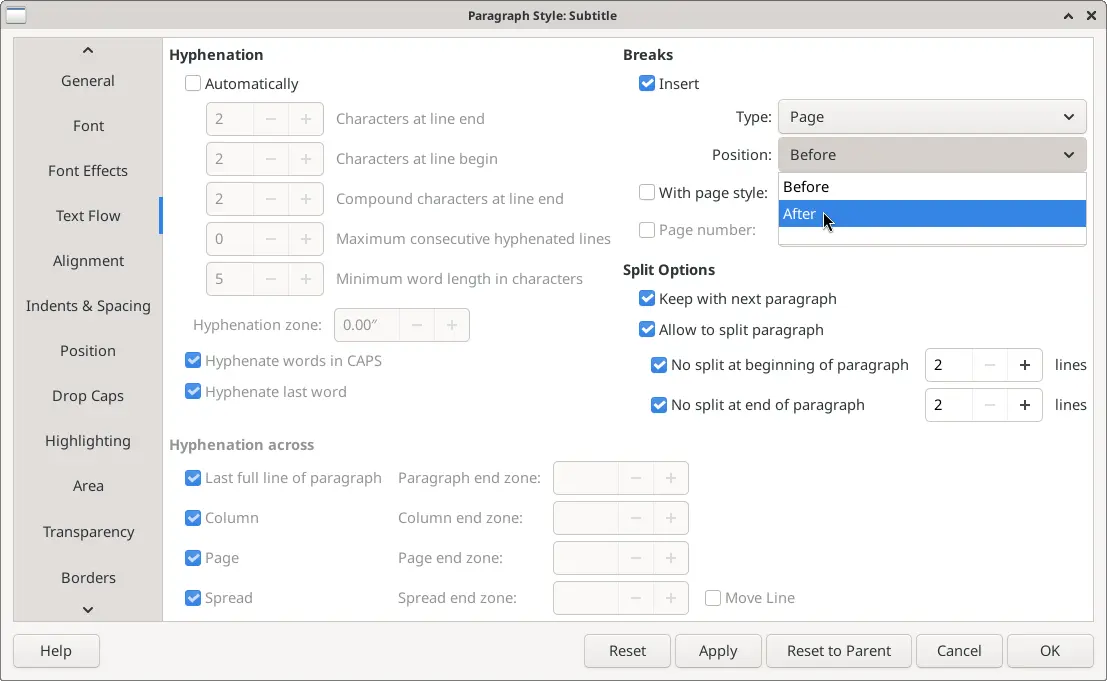
For example, to automatically start a new page (after the title page) for the copyright page, I update the "Subtitle" paragraph style to add a new page break after the subtitle:
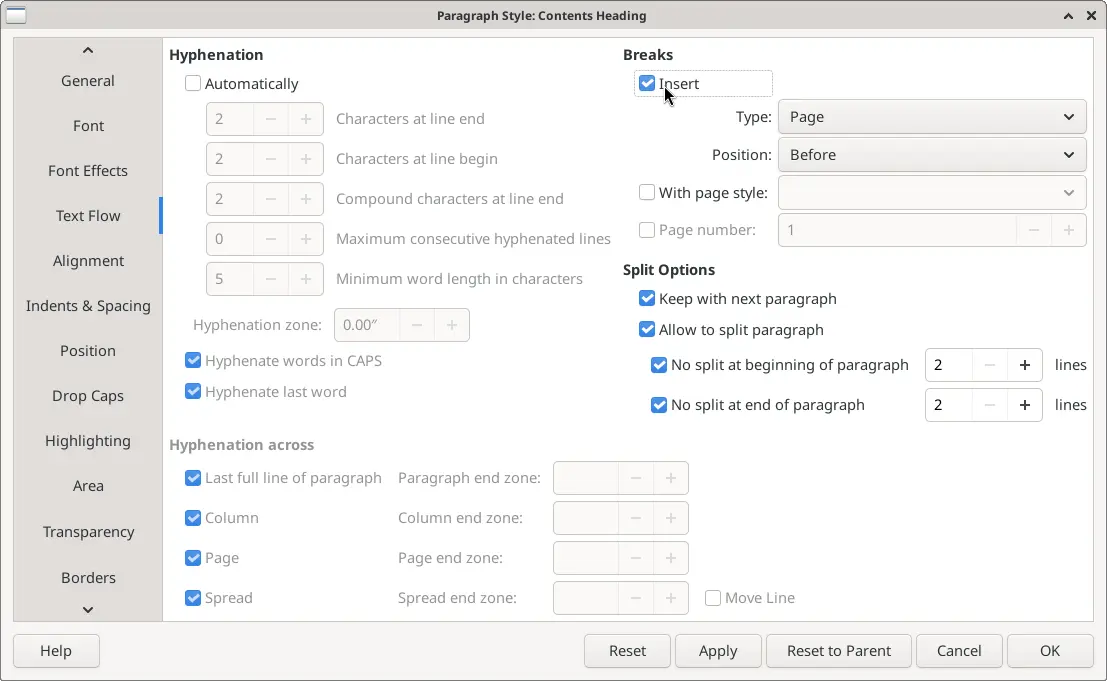
I prefer to include the table of contents on its own page, so I also update the "Contents Heading" paragraph style to insert a new page break before it:
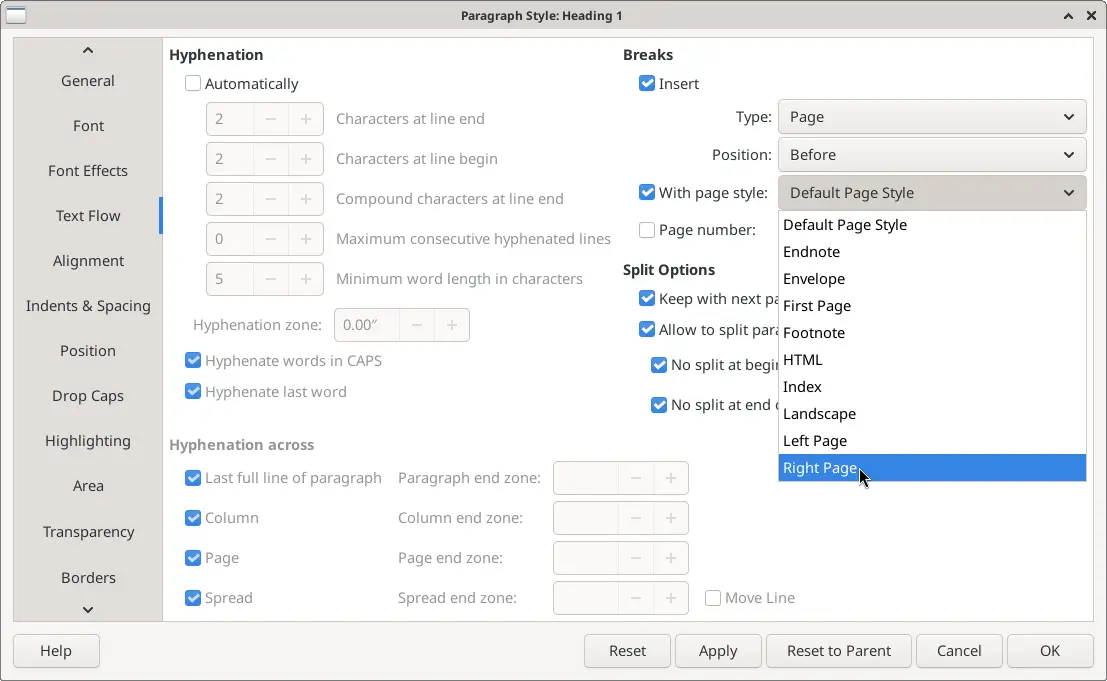
And I like to start each new topic or chapter on a right-hand page, to make it easier to flip through the training workbook to quickly find a new topic. I do this by inserting a new page break, using a "Right Page" style:
Master documents make it easy
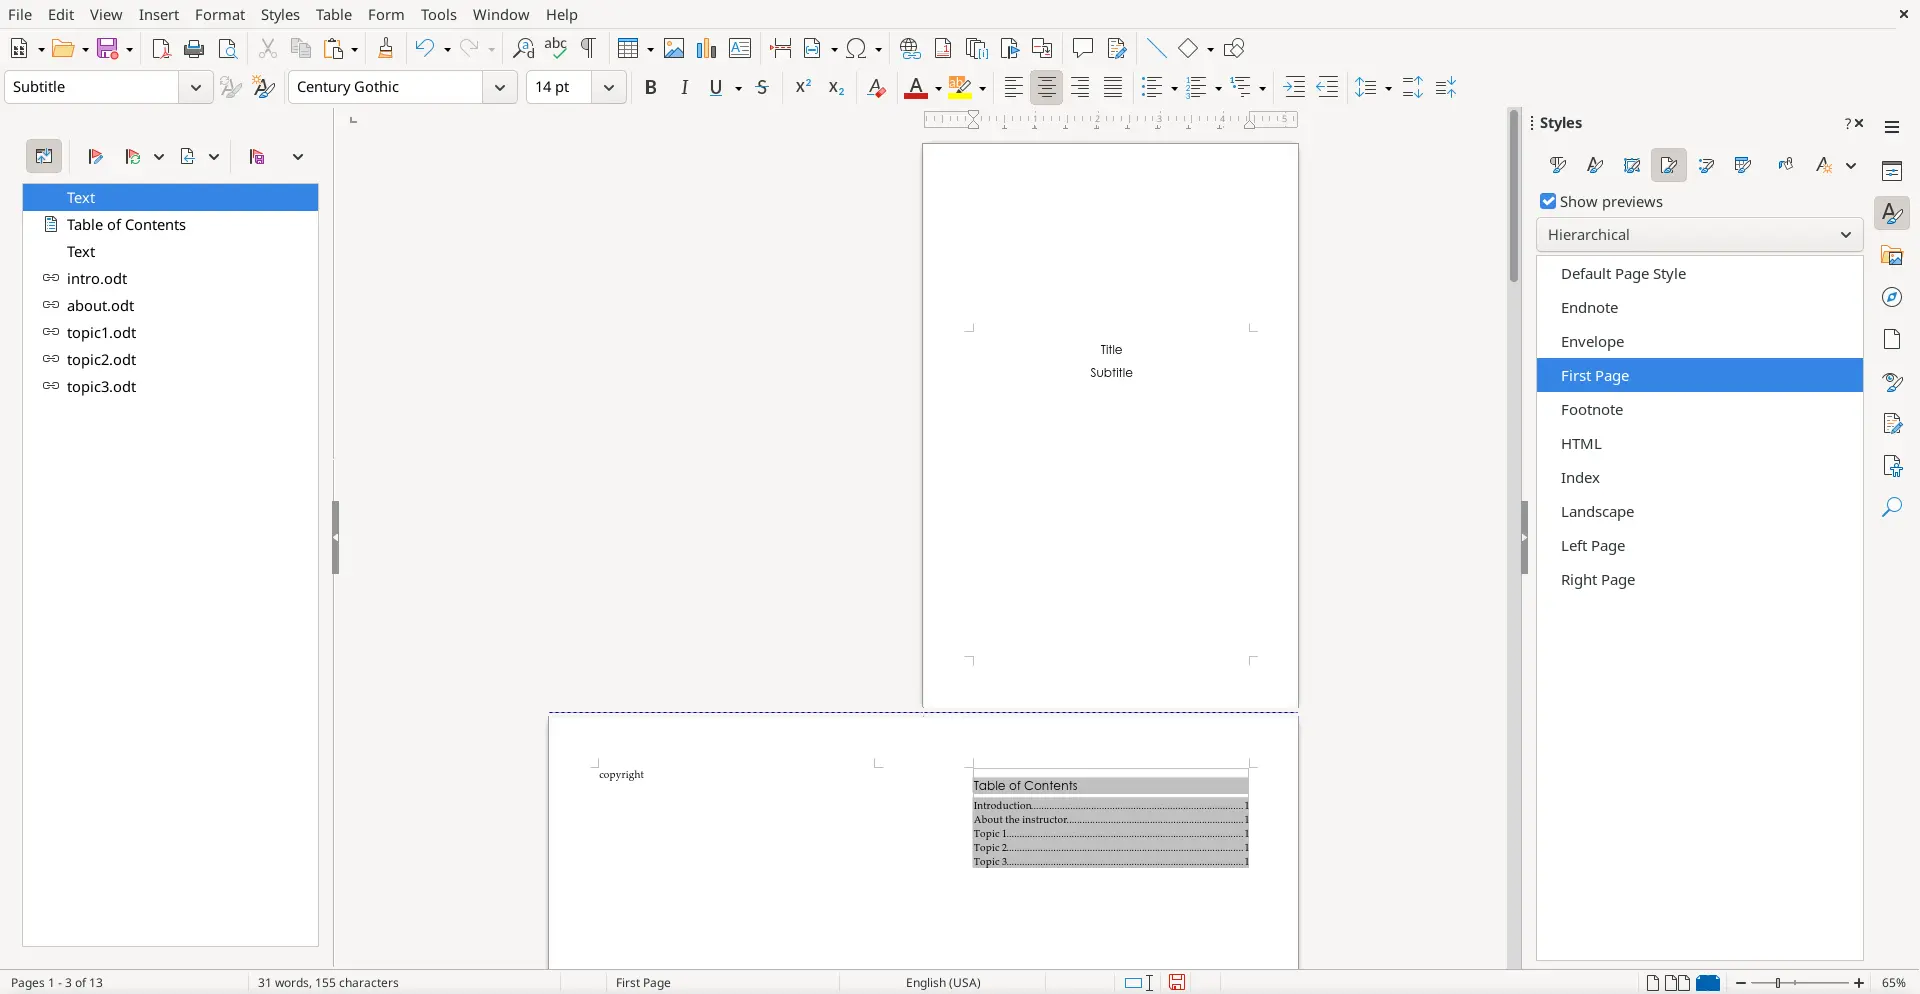
In the end, I can quickly create a custom workbook in about ten minutes, including formatting. The master document makes it easy to collect all of my content as sub-documents, into a new file, and do all of my formatting in one place. Here is what the first three (out of 13) pages look like in the new master document. I've also applied a new font for the body and headings; I've used Palatino for body text and Gothic for headings because they are my favorite fonts in print, easy for most people to read but not too "showy":
Training workbooks are living documents; they get updated all the time. After a training program or workshop, I might decide to update a lesson, or add a new diagram, or reorder the units to make the next workshop that much better. Using a master document makes that easier, too. If I later decided to move the "About the instructor" to the end of the workbook, I can just drag and drop that entry in the navigator. Similarly, I could just as easily reorder the topics to 1, 3, 2 if I decide that one topic should come before the other.
And I don't have to copy and paste between documents if a client asks for a custom workshop. If my next client needs a targeted half-day training, I can create a new master document and reuse and remix my sub-documents. A custom workbook for this client might only include topics 1 and 2, plus the "About the instructor" section—but not the "Introduction" or the "Topic 3" section. That content still exists in the sub-documents and can be used in other workbooks, just not the custom workbook that doesn't need it.

Jim Hall is an open source software advocate and technical writer. At work, Jim is CEO of Hallmentum, an IT executive consulting company that provides hands-on IT Leadership training, workshops, and coaching.